
well, over a week since I've posted anything here. More due to work really. Another long week of 10 hour days, but finally as of Friday I have the damn thing under control I think, so it might ease up next week.
Meanwhile Mark has again been busy, and has nutted out how to do 4'6" drivers. While there still has to be the profile sorted its moving on. I guess I'll have to do some work on leaning how to drive this CAD thingy.
As an offshoot of this, and just kicking some things around, how much would people be willing to pay for a Ab kit? I'll point out at this point that the 2mm guys pay in the region of $200 for a kit without wheels or gears, so you won't get much change from $300 (well, maybe none).
Sunday, May 27, 2012
Friday, May 25, 2012
Wheels??
Any takers asks Cabbage...?
Have been working with a local Wellington Jeweller who has a wax RP printer with 0.0254mm resolution
The first thing I decided to try making was a wheel for the Druff's K/J/Ab project. I had tried this through shapeways in Ultra fine frosted detail but was somewhat disappointed with the result. So it was time to try something else, the wax printer makes a master that can be cast directly, only problem is each wax costs $30, but once cast the brass is good enough to use as the master
We tried the same design I had sent to Shapeways but the spruing and how to turn the final wheel were still unproven and looking difficult. My Jeweller suggested we sprue the wheel from the front hub and this is the final design.
The plan now is to send this back to Morris and Watson as a master for casting in bulk (well maybe 10 at a time as I'll need two tyres of practice to get eight good ones)

The castings is designed to be held by the big sprue on the front to turn the axle then held by the axle to turn the tyre and clean up the front

The tyre profile is to be NRMA but I still have to figure out how to do this.
Have been working with a local Wellington Jeweller who has a wax RP printer with 0.0254mm resolution
The first thing I decided to try making was a wheel for the Druff's K/J/Ab project. I had tried this through shapeways in Ultra fine frosted detail but was somewhat disappointed with the result. So it was time to try something else, the wax printer makes a master that can be cast directly, only problem is each wax costs $30, but once cast the brass is good enough to use as the master
We tried the same design I had sent to Shapeways but the spruing and how to turn the final wheel were still unproven and looking difficult. My Jeweller suggested we sprue the wheel from the front hub and this is the final design.
The plan now is to send this back to Morris and Watson as a master for casting in bulk (well maybe 10 at a time as I'll need two tyres of practice to get eight good ones)

The front

The rear
Saturday, May 19, 2012
Saturday morning
right, with the lady of the house away for the day, time to get out into the shed.
Today's job? Looking at the wiring. I've been a bit worried about the robustness of my wiring connections with 1 having broken during transport to the convention. This has held up ballasting as I don't want to keep having to unbury things to re solder connections. So, this morning I'm off to buy some brass microstrip to solder along the top of the sleepers. I figure that if there is contact with at least 2 PCB sleepers before I stick it through the board then it won't break that easy. I can then start ballasting willy nilly.
As an aside on this, what is everyone's opinion on size of layout. I keep looking at the monstrosity, and while its nice, it may have been better to build something smaller. I'm now leaning towards something that would fit on top of a shelf, or at least in the car. There is something to be said for a smaller layout that doesn't only get set up for exhibitions.
Thursday, May 17, 2012
Sorry Chaps
Things have gone a bit quite here lately. I must apologise for work getting in the way. I've been put on a new project and there has been a fair bit of time playing catch up with some of the stuff being completely foreign to me. It is slowly starting to gel and hopefully I can make more progress next week. I hate sitting and planning as it tends to lead to over thinking problems, which just leads in a downward spiral to complete inactivity. best just to get out and do, which hopefully I'll get a chance to this weekend, assuming I don't get drafted into the garden.
The peanut gallery have been tossing a variety of ideas for module plans, which have started expanding somewhat. I must get them to put some ideas down so that the rest of you can have a look and see what you think.
Without further ado here's something from left field for me.
I've tossed around a plan for a wharf which I think would be quite interesting for a small shunting layout that could fit onto a shelf. It sort of took on a life of its own and soon I had this.

I'll point out that the plans are not to scale, just an indication of possible track plans. The idea stems from the overall layout of Port Chalmers. The station at the bottom could be a bit more complex. the boards are all intended to be 4' by 1'. The top module has a dock on one side, and a series of sheds on the other. This could be placed beside the center module for a shunting layout.
Saturday, May 12, 2012
Pushing the limits
In thhe 'how far can you go' section, heres the latest from Cabbage Industries.

As the photo says they are the type 97 bogie. Mark has really pushed the envelope here, as the etching is thinnr than anything else I've seen. I have a pair sitting on my bench which I'll have a look at this weekend.
here is Marks crack at them...
 'Lost more than one of the axle boxes and I have no carpet'
I still have to sort out just how the spacer goes together, and then have to find a wagon to put them under.
Thursday, May 10, 2012
Mid week
Bit of a slow patch here. I can't seem to find my modeling mojo at the moment. the last week has been confined to building up an etched J underframe, painting some ww2 Russian cavalry, and starting some scenic work on the main street of Paekakariki.

This was a piece of thick card that I shaped and then glued 800 wet and dry sandpaper to it. It was then sanded. I need to sort the colour out, but the texture is about right.
I've got a stack of ideas of track plans for the freemo layout, but have yet to commit these to paper, and do wonder if there is any interest out there in the 'penny dreadfuls'.
Sunday, May 06, 2012
The Final Piece of the Puzzle.....
Cabbage gets busy.....
Thought we should finally add the locking toggle to the Module ends

As you can see here we have added the 110mm long piece of 20 x 20mm pine
The M5 x 50 bolts were recessed into the plywood as they were a bit short
We would recommend M5 x 60 or 65 for a better fit
Thanks must go to Lawence Boul for his comment at the convention that we should make it so the toggle can go righty tighty and in the latest designed batch the dowels have been shifted to the opposite sides to allow this
The toggle now tightens by 1/4 of a turn giving a very firm grip between the two end
Now to add some middles to all these ends.....
.......Have to lay down in the back seat to measure the maximum module length......
Must also think about building one or two BIG turning modules
Saturday, May 05, 2012
Saturday morning
So, I'm loaded up with croissants and tea, and the question is 'what to do today'.
The biggest problem I face is which project to I pick.
-Waihao Downs. I have to go back and redo some of the track work, as it appears that the quality control could have been better in places (to the point where the 2mm fine scale wheels fall between the rails). a day of soldering. There's also interest' in getting it fitted into the new Freemo style layout that looks as it it will get its first outing at the Hutt show in October.
-Further to this, building a module using the end plates, and just which one of the choices my fertile brain (it gets feed a lot of bulls**t obviously) has come up with will it be. Possibly depends on what everyone else does.
-Wagons and such. There's a few 1/2 finished or not started, and I need to get some more couplers (either micro trains or the NZR ones I've done, which I'm not not quite sure about as they may need a bit more work). need to spend money here either way.
Hmm, that seems to be about it. Not too bad I guess.
One thing that is holding me back on Paekakariki is a bit of a lack of confidence in approaching the buildings. I must just get through this and start.
Oh, and for your viewing pleasure (and possibly terrifying) here is a link to some 160FS modeling. Its in German, but the pictures speak for themselves.
Friday, May 04, 2012
How not to do it (or 'don't look at the prototype, its not like the plans at all!')
Further help for beginning modelers as to how not to do things so that more experienced modelers don't pick in their short comings.
 Here we see that our modeler has wired a DCC jumper between his lengths of rail. However these always look better underneath the layout away from the rivet counters. At very least they should be on the outside of the rail.
 Tutt tutt tutt where to begin. The isolating groves in the PCB sleepering have not been filled in. The sleepers are not regularly spaced, nor are they all at right angles to the rail. The ballasting is also not symmetrically applied, with the sleepers on the right completely buried, while those on the left are exposed. This was repeated many times along this stretch of track on both sides of the line. maybe a better ballast spreader could be purchased (there were plenty of drag marks like this for most the walk).
 Here the modeler has essentially 'phoned it in' and not bothered with the correct tunnel mouth shape. This is fine if its next to a fiddle yard, but not where everyone can see it.
 Finally, make sure that all your rolling stock is the correct height, otherwise damage and poor running is sure to follow (Note the notches where someone tried to make a Hi-cube container fit into the tunnel mouth. Must have made a pretty noise.)
Wednesday, May 02, 2012
Everyones a Critic....
(Am Fet trying to video 0-4-4-0T's coffee table layout at Tuesday nights club evening....)
Sort of kills the "I have no space" excuse......and tests later proved we could get an SD9 chassis around the curves, so a DC with a few of Cabbages UK wagons is seriously on the cards.
Sort of kills the "I have no space" excuse......and tests later proved we could get an SD9 chassis around the curves, so a DC with a few of Cabbages UK wagons is seriously on the cards.
A long walk
On Sunday morning, courtesy of the Woodville lions club, the lady of the house and myself walked the railway line through the Manawatu gorge. This is an annual event for charity. One simply parks ones car at the Ashhurst domain, and is bussed to the far end of the gorge where one simply walks back to the car, all 8km of it (did I say you have to pay for this as well?).
 'Starting out, at least its going to be all flat isn't it.'

 'An interesting bridge, and time for a toilet stop in a semi public place underneath...'
 'Do Dl's still need water?'


This was a good morning out, though I suspect that I will be paying for it this week, both physically and brownie points wise. Walking any distance on sleepers and ballast is not easy and you don't get much chance to look round as there is a constant stream of people behind you. And whoever turned down the Marines off to build a proper road through there in 1942 should be dug up and shot. Most of the way its just hanging off the cliff face, where its not buried under tonnes of shingle.
 'Starting out, at least its going to be all flat isn't it.'
'Further along, and how far do we have to walk again?'
 'An interesting bridge, and time for a toilet stop in a semi public place underneath...'
 'Do Dl's still need water?'
'What, there's still more of it?'
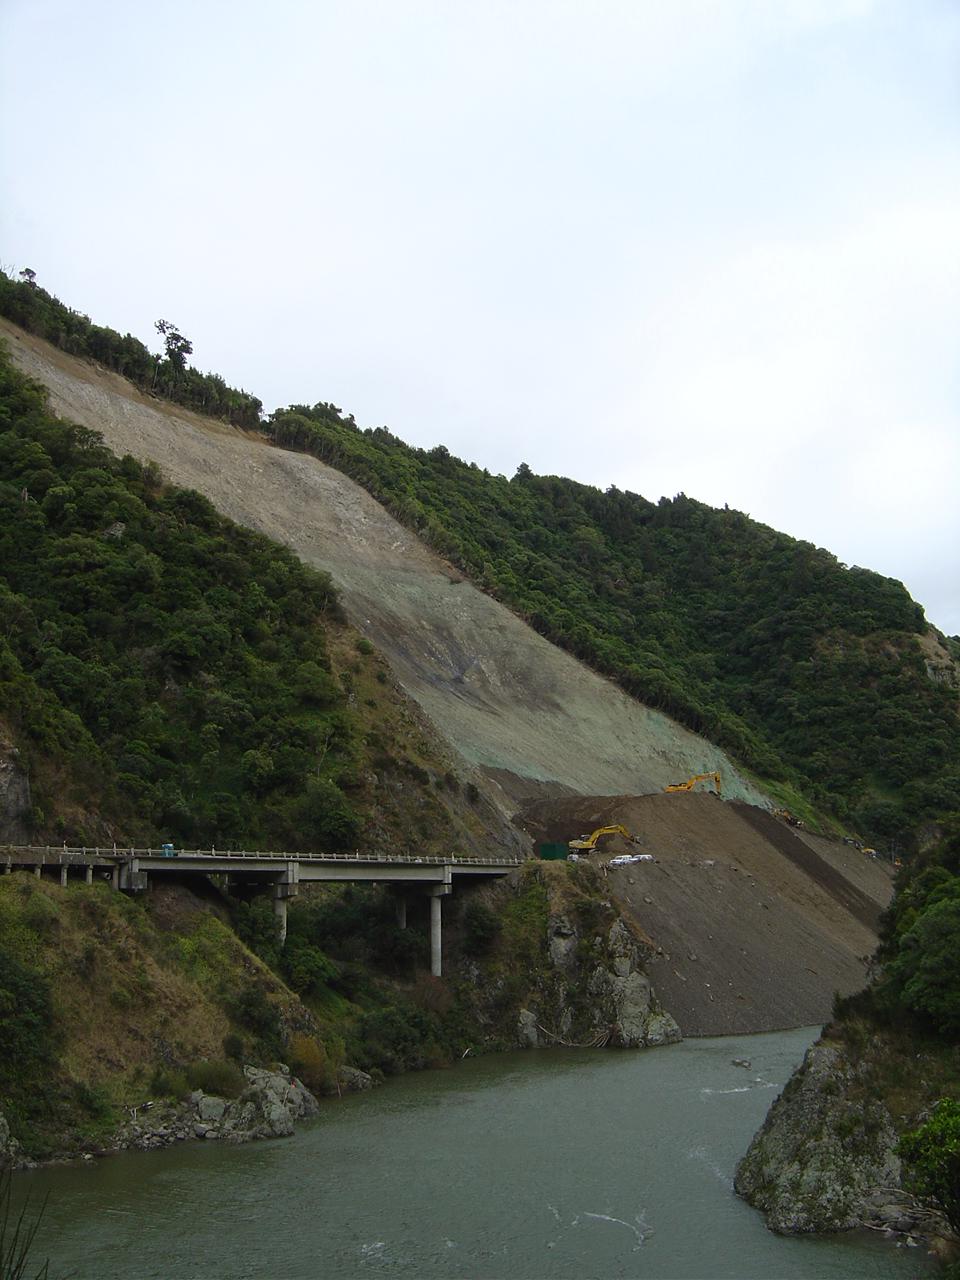
'The slip'

'Chased by old people. Maybe there's chocolate biccies at the rest home for afternoon tea?'

'Almost there, just a tatty bridge to cross first'.
This was a good morning out, though I suspect that I will be paying for it this week, both physically and brownie points wise. Walking any distance on sleepers and ballast is not easy and you don't get much chance to look round as there is a constant stream of people behind you. And whoever turned down the Marines off to build a proper road through there in 1942 should be dug up and shot. Most of the way its just hanging off the cliff face, where its not buried under tonnes of shingle.
Module ends for sale
Some blatant advertising......
Join the growing craze
NZ120 Micro Module available here
Don't miss out
Get yours now
Yes that's right only $20 for a Laser Cut ply wood end
But wait there is more Order now and we'll give you two ends, enough to start your new Micro Module today
But that is not all you'll also receive a standard code 55 track piece to start your track from
Contact Cabbage at marksmodelwork@gmail.com
Subscribe to:
Posts (Atom)