DB carries on:
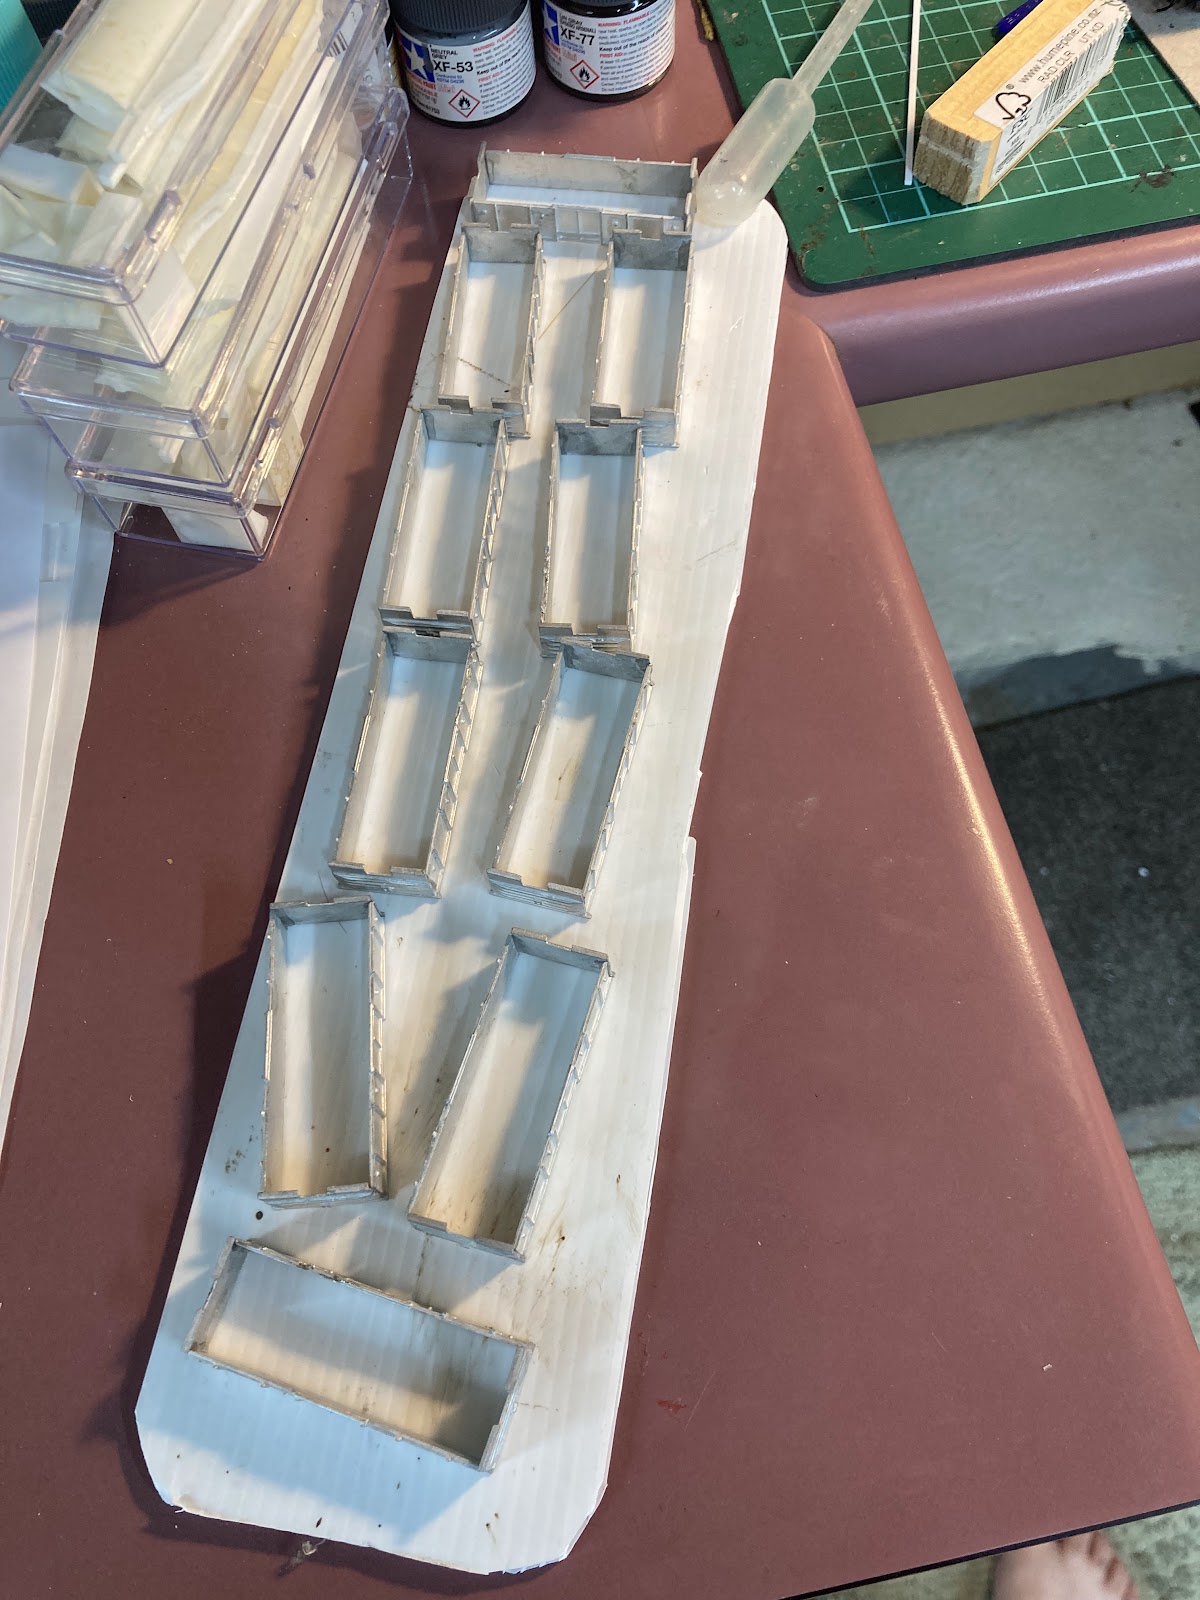
Another tasty item in the Red Cross parcel from Mr Holden were 3D printed UK container wagons. Neat, because they are the first items I've seen that are 3D printed in metal. Aluminium in this case. I ordered a pair of these beauties.
The detail is great, and they look well proportioned. The aluminium looks a little grainy in the scary closeup pictures (those may indeed be the component molecules you are seeing) but the wagons seem quite smooth to the touch.
I ordered these two to replace the handful of my old resin UKs that sagged - most of my cast UKs are still fine, but a few mustn't have had reinforcing rods put into the resin during the casting process.
On second thoughts though, putting containers on top of these printed ones, with their lovely undecked open girder details, would be such a waste... so I've decided to have one as a replacement bulk wine wagon (which had become a bendy old one) and perhaps leave the other as an empty flat. Or maybe it will get a container on one end.
The first step in the process was to use a Dremel to remove the coupler pins and open up the headstocks for Microtrains couplers salvaged from a couple of my old sagging resin UKs. Boy this aluminium stuff is really tough and requires a fair bit of cutting. I found a fresh sanding drum more useful than a cutting wheel. The bogie mounting points were also drilled out, and a file applied to a couple of rough edges.
Both of these wagons had some slight imperfections across one end by the angled undergirders (see pic below - both the wagon sides and the angled girders underneath aren't well formed), plus one 'missing or partially formed' twistlock that you can also see in this pic (second twistlock from the right). I'll fix the sides in a moment, but the scrawny angled undergirders aren't really that noticeable so I didn't do anything to them.
Both wagons were hung up and sprayed with primer:
And then the sides with the dings were overlaid with some .010x.080 styrene. I was going to fill them with squadron putty but thought this would be a faster and lazier approach.
The tops were then brush painted black. I had planned to buy a spraycan of black to make life easier, but the shop was closed before taking action. Partway through the brushpaint, I remembered that I have an airbrush...
Eventually my bogie mounting holes were widened enough so some screws could be forced in (did I mention this stuff is tough!) and a pair of Microtrains bogies were then attached to the first wagon (seen upside down:
Oh, that won't do. Firstly this wagon deserves better bogies than that, and secondly, it looks like the wagon is flying up on tippy toes.
The bogie mounts were dremeled down, almost to the height of the main side beams. Some Kato freight bogies were then attached, which look a lot better, but (curses) I broke one of them in the process.
After some further fiddling, I feared the metal wheels might make contact with the metal frame, so once again out to the Dremel in the shed to remove more of the underbits to provide additional clearance between the wheels and the floor:
OK that feels more comfy, and the lower-set wagon looks better too. Arguably still a bit tall as the bottom girders are still a little high above rail height but the bogies can't be mounted much closer to the top deck unless the floor was paper thin:
Arguably my bogies could have been mounted a smidge closer to the ends too.
The missing twistlocks were replaced with an overly-engineered piece of plastic strip (.060 x .040 I think) which was drilled, then cut at an angle (one in progress here):
Cut off, then attached. The twistlocks on the model are unusual compared to the prototype, but effective.
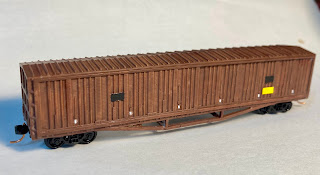
Finally, after the black bits were touched up, a little weathering powder was added, the wine tanks onboarded, recycled Microtrains couplers stuck on, and number decals added. A bit of the crookedness in the below pics is from my phone camera lens, and some from my inability to make anything straight and square, which is why 3D printing is such a boon. I hadn't noticed until I saw these pics up close, but I obviously need to straighten out the tanktop walkways.
Widthways, the twistlocks on the wagons stick out a smidge far, and inconveniently, the ISO bases on my tanks are a little thin. Lengthways, the twistlocks on the centre 10-foot slot line up nicely, but the outer ones don't quite match, being a bit far apart.

The Verdict? 8 or 9 out of 10. These are really nice. But my two felt like a lot of work for 60 bucks a pop. Partly because I want to use Microtrains couplers, and want to have these good looking models sitting nice and low, close to the track. Perhaps if you use Trackgang bogies and couplers, they are perfect. Personally I'd prefer:
- the depth of the round bogie mounting points be reduced (one can always add thin washers if needed if you do want a high-rider),
- eliminating the subtle strengthening girderwork etc (see first pic in this post) around the bogie mounts to give more wheel clearance, as the aluminium is plenty strong enough already,
- and perhaps even thinning the floor above the wheels to the absolute bare minimum to further reduce the risk of shorts. Or the floor above the wheels could be eliminated altogether and added by the end user - from thin plasticard or even paper ...or not at all if a container will be mounted there anyway.
- having little blobs for the 5 ferry tiedown hooks each side and maybe the handbrake mounting points would be nice. But not the vertical handgrabs, as these would get in the way when drilling and dremeling is being done.
On the plus side, they look fantastic, and assembly of the core wagon shell is a breeze - as it comes in one piece! As it is computer modelled, it is possible some of these suggestions could be incorporated in future, as Mr Holden continues to improve the 3 Foot 6 offerings.
Just looking at that prototype pic, it would seem a sin for me not to add the brake cylinder in the open frames and maybe even some piping too so I might just do that next.
The wagons may need a little extra weight if they are going to run as empty flats, as they are surprisingly light. Or unsurprisingly I suppose, given they are made of aluminium.
The models are currently available from 3 Foot 6 Models at this URL: NZR UK class container wagon - open decking - NZ120


