Thursday, July 11, 2024

A little off the sides

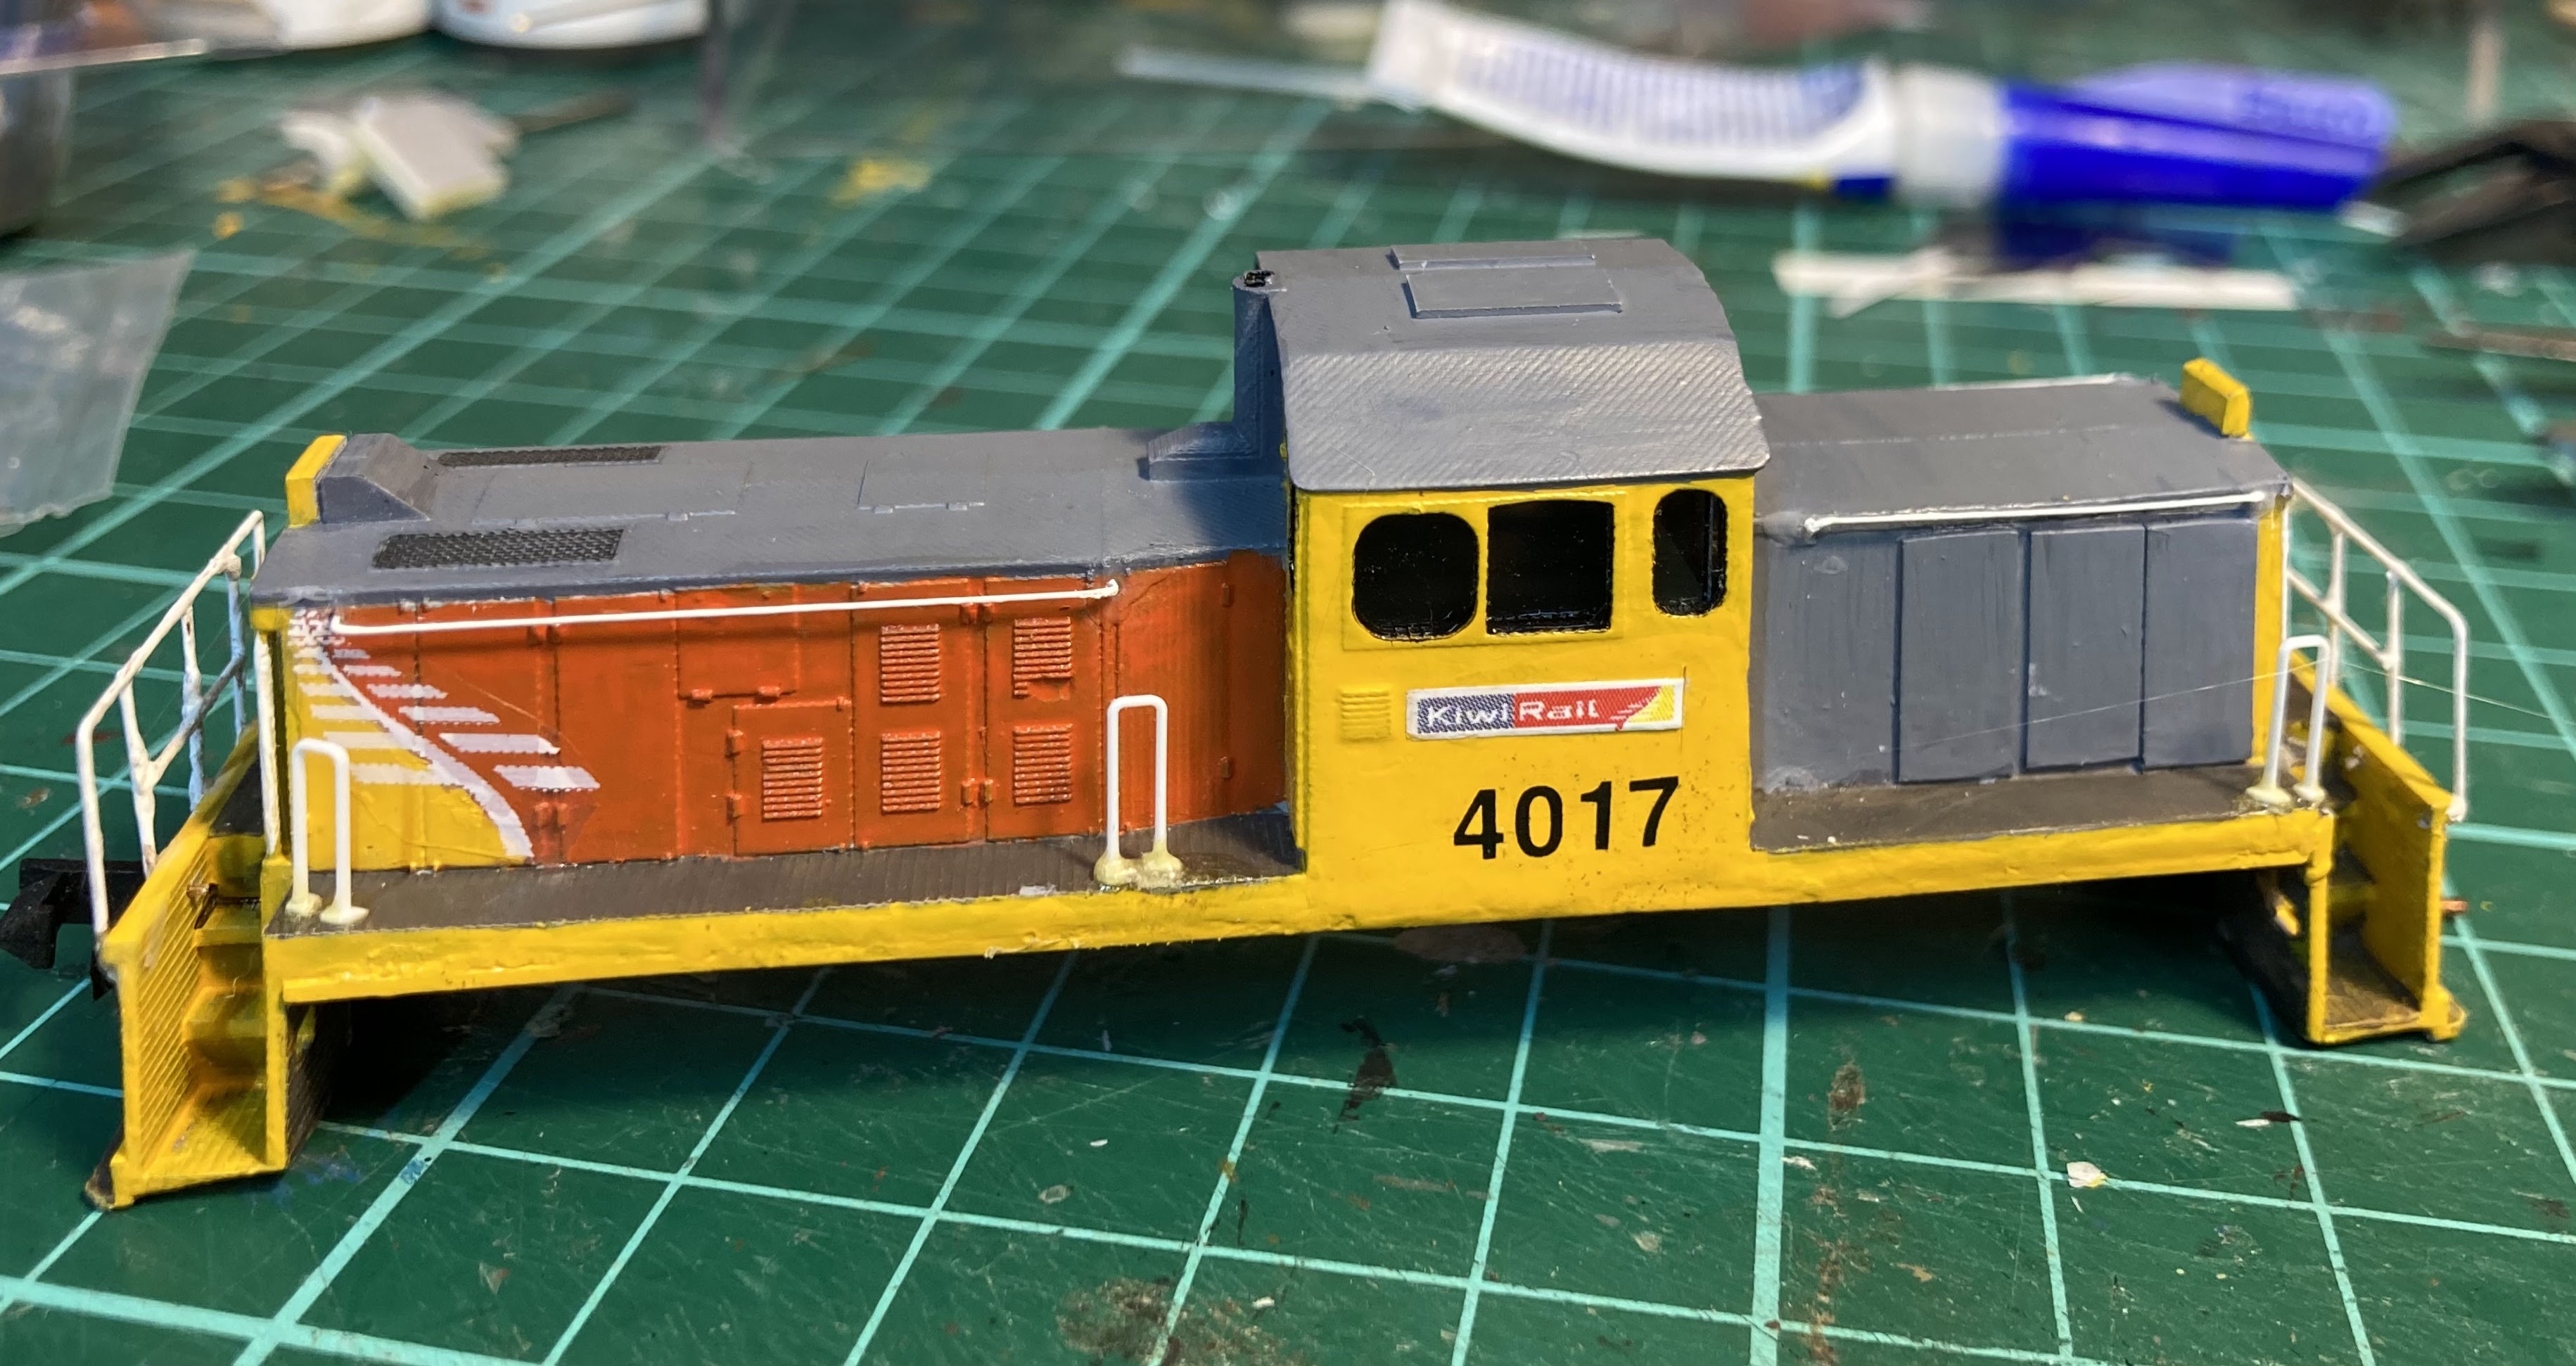
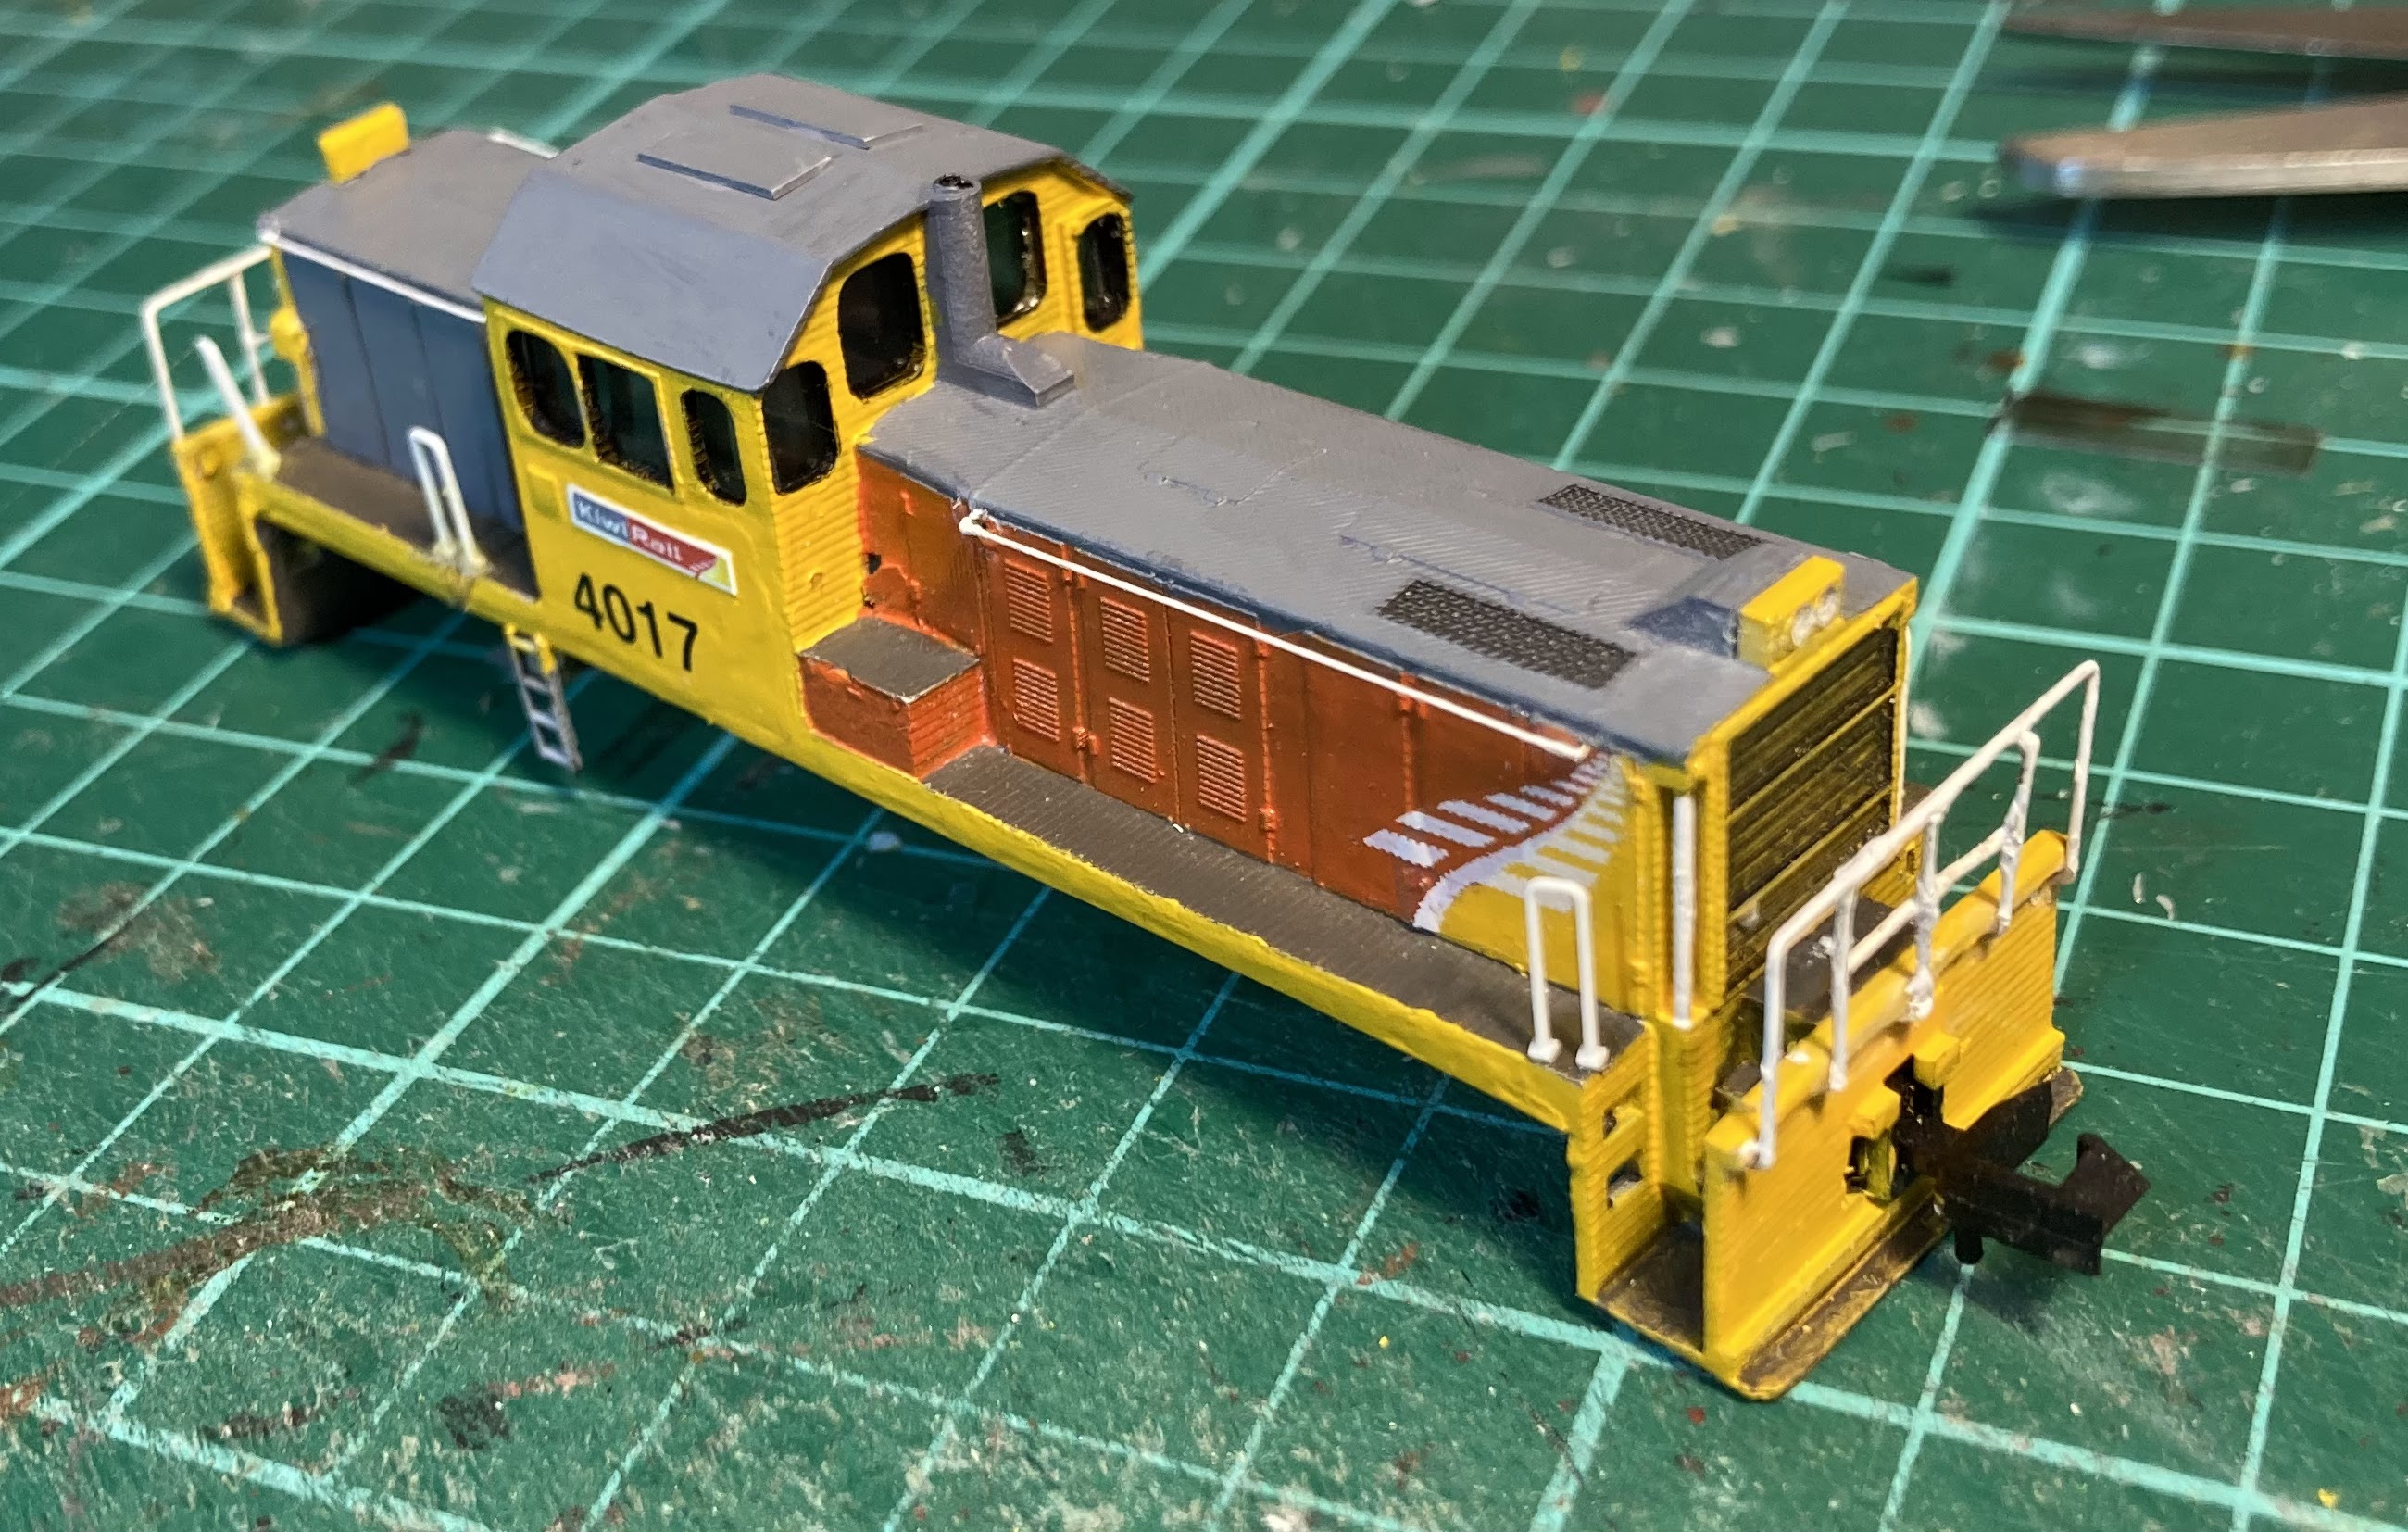
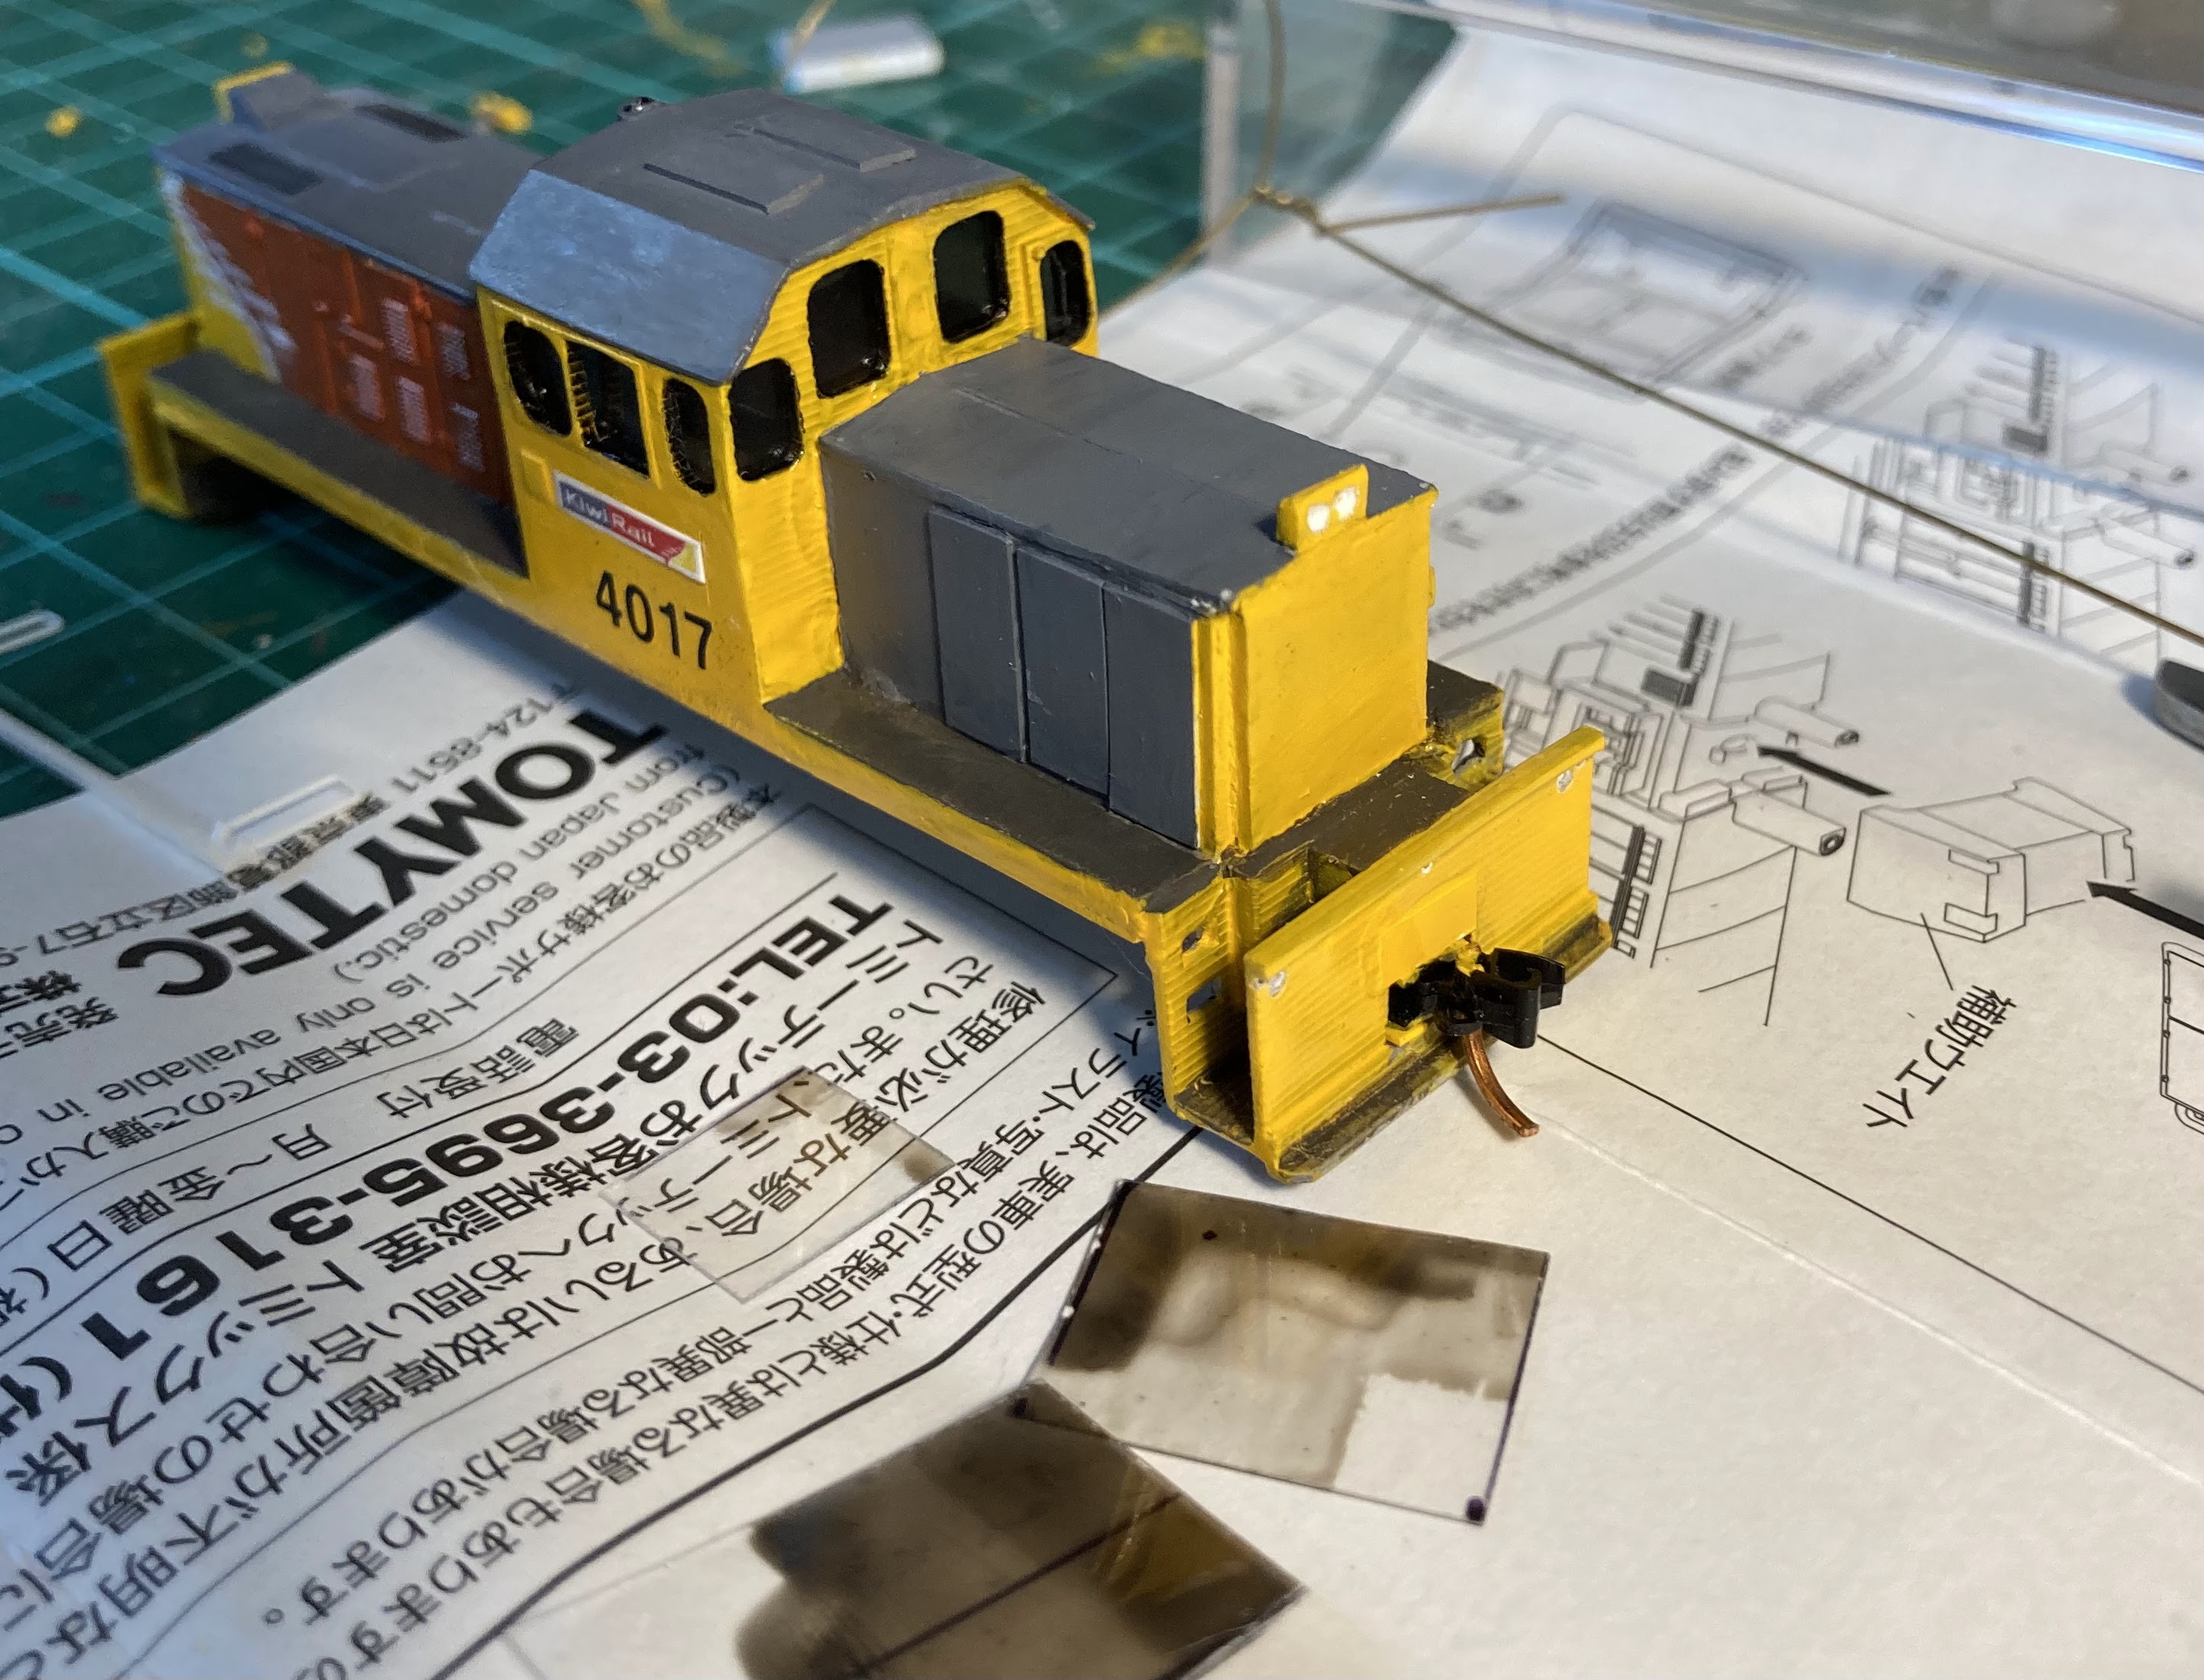
In my last post I showed a picture of where I was up to with my EE set. Having a look at the painting on the headlight end I noticed one night last week., I noticed that if the silver line I had painted level with where the side met the roof, the paint line came down only about 2/3rds of the way down the light cowls. 


This didn't quite ring true in my memory and so I went back to photos of the real thing to check.


 Ok, so a quick look shows that the roof should be painted down to level with the top of the doors.

Easy enough fix.


 However it still didn't quite feel right and perusing my collection of pictures from trawling the web I discovered the truth...


The roof is actually curved right down to the top of the doors. The shiny strip above the doors appears to be a trick of the light or the cleaning machines they use very sporadically.

Out with the file and fortunately there is enough fat in the print to round things down  to where they should be.


This is my test shell and its proved to be a bit harder to fix my 3 other tops with their new ventilators in place, and I'm also wondering about the toxicity of the resin dust.

Sunday, July 07, 2024

Only CE CEs are tasting like theees! - 3

 DB says:

The next step with the CEs was to seal up the decals and the laser printed paper "decals." 

I usually brush on clear varnish, but feared that might smear my red stripes, so did a light spray of Dullcote instead and this doesn't seem to have upset anything. Not sure what they put in that stuff, but best used outdoors due to the stink. Ask me how I already knew this, but never seem to learn.

The last big visible task is to insert some coal. I've never gotten around to doing this with any of my CBs or CWs in the past, although I did try an experiment with some of that builders expanding foam in a CB a long time ago thinking that would provide a light 'base' on which to apply a thin layer of coal. The problem being... it's hard to control as it expands...

So some sort of false floor is needed. The CE is more complicated because with its cylindrical cross section, any 'false floor' will be wider than the top opening, and then you have all those internal ribs to deal with. 

By trial and error I made up a false floor former for one side out of plasticard that reached inside from one curved inside surface to the ribs on the other side (then made three more using this as a master), and then a smaller piece to fit in the other side. Again using the 'master' to mark out where to cut the rib slots. 

These were stuck in place mainly with friction and using plenty of PVA used to plug up the worst of the remaining holes to prevent coal dropping under the false floor and being trapped there forever...
Coal was added and stuck down using isopropyl alcohol (to wet things) and then diluted PVA.
The coal I have is pretty chunky stuff from PECO. I must look out for some finer stuff for a topcoat next time I'm in the big smoke, as my CE prototype pics show very fine coal.

Remaining jobs include adding weight and painting the bogies. Now I'm kicking myself for getting rid of all that lead off our previous roof....

Thursday, July 04, 2024

Modeling weekend

 Well first up tonight, some news. It appears Shapeways has gone bust and let go all its staff on Monday this week. It will be interesting to see what impact it will have on the wider modeling world. While the buisness model worked in the early days, widespread adoption of 3D printers has put the crimp in the printing market, coupled with insane UPS charges. The only good bit was the marketplace setup where people could sell there models from a cenral spot and not have to carry any stock themselves. It will be interesting to see what emerges from the rubble. Congrats to Lewis Holden for doing his part to break the company.

And now the interesting bit

Last weekend I spent 2 days poking the borax while doing a bit of modeling at Woodville railway station. Organised by VCC models, it was fun couple of days sitting round talking, modelmaking and stealing liberating other peoples tools. And the food was very good as well.

Plenty of old iconic modelers in this shot

We even had a surprise guest.

 Now I've never been to Pokaka and while I've been told its a great weekend I do have my doubts about being trapped in the middle of nowhere with a group of railway modelers. This weeekend for me was ideal in that I got to sleep in my own bed every night and not torch a pile of brownie points.

So what did I get up too? A few projects but one of the bigger ones was making some headway on my D+Dm+D set. I had to add the correct ventilators and do some work on the motor bogie. I've now thrown a base coat of paint on it all.

Once I have the windows sorted I will do the weathering and then sort out the undergubbins.

Monday, July 01, 2024

Only CE CEs are tasting like theees! - 2

 DB says: Instead of "working" today as intended, I ended up being distracted for most of the afternoon by the CEs.

The previous night, I applied a little paint with an airbrush, then started thinking about the distinctive 'signage'.

Halfway through that thinking, I figured the bogies should be applied, as doing that at the end might upset the delicate signs. Good job too, as after the holes were drilled and screws were screwed, the whole thing sat up too high, and three wagons in, I came to the inevitable conclusion that "this will not do". There's nothing that makes a model look more toylike. 

So bogies came off and it was out with the dremel sanding drum and knife to lower the bogie mounting points almost a mm and to make more clearance in the underframe for the wheels to swivel.

After re-attaching the bogies (I use self tapping metal screws as they tend to be easy to find in small sizes at engineering shops) things looked far better.

As my decal printer's Windows XP computer is on the blink, I wondered about other ways of attaching signage, especially the distinctive 'this way to unload' arrows.  I doodled a design up in PowerPoint, printed it out in plain laser paper and coloured it in with a yellow marker. This was later joined by wagon numbers for the CEs and also for my old CBs and CWs. Paper stuck on with PVA is neither fancy nor high tech, but its the impression that counts, and this isn't completely terrible. The yellow shade could be redder, but that might be fixable later.

Then I found some white decal paper  - soon to be cut into strips - some plain white, some with red stripes. These are for the reflectorised strips at the bottom of the wagon
Ta-da, with signage:
There should be one more arrangement of plain white stripes in the shape of an arrow, but I'm not sure my OCD can be bothered.

A real pain was that the Crayola red obviously isn't waterproof, so the first dozen stripey bits lost most of their red in the water dish. I learned to carefully place them 'on' the water, and carefully retrieve them with tweezers without getting them wet. Then waiting until the retrieved pieces separated and could be applied. That all took some time, as I had 24 of the red stripey bits to do in addition to the sixteen plain white strips which went on quite quickly. 

Plug Of The Day is for that Tamiya decal cement I bought a while back for the reversed DSJ fern. It's subsequently been used for sticking down a decal-side of one of my RFL wagons that had curled away from the plastic container, and now for these fiddly little side stripes with the red angles, some of which kept curling off the wagon until they were glued down. Unsurprisingly, putting decals onto a gritty finish isn't a great mix. And this glue didn't seem to upset the red marker either, but has ebnough tack to work quickly, and is thin enough to get behind decals. A nice find.

Friday, June 28, 2024

Only CE CEs are tasting like theees!

DB recalls somewhat verbosely:

A long time ago, in a galaxy far, far away, I purchased four well-travelled CE tops from Shapeways - in 2013.

They were unpacked recently and I thought they might make for yet another quick project that will keep me away from finishing that last leg and thus progressing Studholme.

Some hopper history. On the Midland Line coal trains, the aluminium CB wagons started to replace four wheeled highsiders in 1989. CBs were a derivation of the North Island CA class but with longitudinal doors underneath as it was feared the wet west coast coal would get stuck in the little transverse doors.

Extra CBs were converted from CF fertiliser wagons as coal tonnages picked up, and hungry boards were added to the tops of all of them to further increase capacity.

The stainless steel CC class arrived on the scene in the mid 1990s, a taller and longer wagon intended to be loaded with considerably more coal as soon as the Midland Line's track and bridges were upgraded to take higher axle loads. That never happened, so the one-bay-shorter CEs came about, and CCs still run around with plywood formers inside the ends to prevent them from being overloaded. 

As the CEs were entering service, some second hand bauxite tubs from Western Australia were purchased, and these became the CW class with their distinctive lower sides. They initially ran as a set, but then they were split up so for a period it was not uncommon to have real mixtures of wagons in the west coast coal trains, with a block of modern  CE/CC wagons at the east end, a block of CBs in the middle and some CWs at the west end (from memory to do with braking when loaded, although I do have pictures with some CWs at the east end of trains).

The bigger CE/CE wagons are labeled for unidirectional unloading, and now there is no balloon loop at Lyttelton, I guess they shuffle out and back to Ngakawau, Reefton, Ikamatua (Pike River) and (rarely) to Rapahoe with little bother. They'd have to be careful at  Stillwater to leave from the same leg of the triangle they came in on to avoid reversing the rake. 

The Genesis CET wagons used to bring coal to the Waikato from the Bay of Plenty ports are basically CEs with roof hatches, and the YJ ballast wagons were derived from the CE design. 

Anyway, back to the models. 

As mentioned in that post from 11 years ago, the shells from Mr Lister are fairly strata free except on the sloped ends. I attacked that with a triangular file to take some of the edge off, I'll give myself a C- grade on that effort. The sides were sanded with some fine sandpaper, but now that I have applied some paint they seem as gritty looking as ever. 


The only 'modifications' made to the shells were to shave off a mm or so from the bogie mounting point to make the wagons sit lower on Microtrains bogies, and to enlarge the coupler openings for the bogie-mounted couplers to swing around in. Both done with a drum sander in the dremel. The material these were made off seems to slowly abrade and melt away rather than turn to dust like the 3foot6 resin. The underfloor longitudinal stiffeners connecting the bogie mounting blobs to the main wagon were also shaved slightly on their longitudinal edges to allow more swivel for the bogies without flanges contacting them.
Somewhat silli-ly, paint was applied next. Spray primer, followed with some silvery Tamiya paint which I planned to weather with black paint for coal dust.
The CEs looked shiny when new, but quickly acquired that dark sheen or course. This was applied to most of the wagon (especially the bottom half) with dark grey paint wash, but went too far trying to blend it and covered almost all the silver. Having me wonder why I applied it in the first place. The dark wash looks ok in places and pretty bad in others.
Certainly 'sheen' isn't what I'm getting with my efforts so far thanks to the un-smooth surface of the prints. However, a day later I gently resanded the top halves of the shells with some very fine sandpaper and this not only smoothed out more grit, it removed some of the crappy dark wash and brought more of a shine to the top corners.


Now that I have foolishly painted the shells, in a bass-ackwards way I figured I should detail them. D'oh.

 So after trawling through the stash for CE pictures, it seems:

  • One end platform of the wagon, the Lyttelton-facing end, is basically empty save for a set of four wooden wheel chocks. 
  • The other, west coast-facing end, has a long air tank (there seem to be different lengths or positions of these), some braking bits and bobs, and a handwheel. 
  • There are two air pipes of different sizes running along one side, these end up going down into the end platforms via metal gymnastics. I'll probably just do one pipe unless I suffer from a burst of enthusiasm.
  • There are handrails on one corner of each end. 
  • There are trippers for the doors on both sides, these always seem to face to the left when viewed from the sides. I assumed they would face one coast or the other.
  • There are some prominent jacking pads on the bodysides.
  • The model shell has a little flap at the top on one end. I have prototype pics of flap with a ladder attached to it, ladder with no flap, flap without ladder, and no flap or ladder. The flap was probably intended to protect the air tank and brake valves, so I'm thinking they started with a flap for protection, then decided they really needed ladders, then later on, decided to dispense with the flap. The wagons mainly seem to be in 'no flap with ladders' configuration these days. Perhaps someone in the know can share some actual facts.

Some representative air tanks being made (below). Jacking points and little trippers for the three door sets have been added with white styrene.:

Drilling holes in the end platforms for brass ladders (below) to minimise the chances of them being knocked off  - I decided to keep the flaps on two wagons and cut them off the other two for some variety. A brass airpipe has been painfully bent and secured in place along the correct side.

Ladders in place and handbrake wheels too (below). The handbrake supports were over engineered with an angled piece of plastic rod with a thin square attached on top, all drilled out for an N scale handwheel donated by some unloved American wagons. The angled support was shaped at the bottom to plug into a hole drilled in the end platform. This looks almost perfect on the wagon below. On the other three the angle was too great (I forgot that the platform top also slopes down at the sides) so those ones lean a bit more than they should.  

And finally with some paint on these new details (below)

The Marks Model Works etched brass CB ladders were purchased a decade ago with these four CE shells in mind .

Monday, June 03, 2024

DSJ Part 6. Handrails.

 DB teters onwards:

A few minutes were available for trainroom duty today, so some handrails sprung from the holes that were drilled last time. I had grand visions of soldering these up on the workbench nice and straight, and then inserting them into the holes. This was never going to work as I'm shite at soldering, and all my superglued ones from the ancient past are still intact. More or less, anyway.

So an overall hoop of brass was folded to fit and glued in the outer holes. Then the central vertical piece inserted into a hole, cut to size iteratively, and glued to attach to the hoop. Then the two remaining vertical pieces done similarly. 

To finish things off, the horizontal bar was glued in place (which I assumed went all the way across, but after looking at a few prototype photos, doesn't). The first horizontal bar, on the unpowered/short hood end went in nicely first pop, and the other end had to be wrangled about and a small kink added in the middle with tweezers and fingers covered in superglue. These end rail pieces were all made with leftover (0.6 or 0.4mm??) brass rod that came with the Trackgang Zs. Overall, this didn't take as long as would be imagined. 

Ironically, the 'short hood' set of rails is pretty straight and square (whereas the short hood end itself isn't!) but the verticals at the powered end aren't quite as vertical as they should be, which shows up against that perfect 3D printed end!  


The two vertical handrails indented into the corners of the short hood were added with finer brass (pic above), although the 3D printed ones on the powered end look better (pic below)! Those vertical corner ones and the horizontal grabs along the tops of the hoods were made from .008 inch brass (a bit fine in comparison, but what was at hand) .

And lastly, the vertical standalone inverted U shaped bits in the corners and by the cab doors were cut from the Tomix top. A little short, being 1:160th (or maybe 1:150th), but they were too nice to not use. Yes, the leaning one in the background of the above pic is being stabilised by a tin of paint as it sets!

Sunday, June 02, 2024

DSJ Part 5. Couplers and glazing.

DB relates a few more tiny steps.

Glazing has been added inside the cab. I used some clear plastic painted with that semi-transparent Tamiya 'Smoke' on the 'inside' side of the glass. This was leftover from my 56 foot cars from a decade ago. I figure I still have enough to make another two or three or four cars so should do that (adds to project pile).

Leftover bits of glazing are on the paper under the loco. Those paper instructions were fished out of the rubbish bin in the hope of finding some clues as to how one might easily DCC the chassis. After a few minutes on google, it would seem most of the Tomix stuff isn't that easy to deal with, but I can see some possibilities.

Couplers had also been added, with a Microtrains at one end, and in what must be a rarity in custom made NZ120 and even in N scale locomotive builds these days - a Rapido at the other. This is so I can shunt (or at least 'tow around'), Peco wagons. The coupler is sprung and has that little tag under it so I suppose it could be used with some sort of mechanical automatic uncoupling mechanism operated from under the track, but that seems extremely unlikely to eventuate. I've never had much luck with Microtrains and magnets either, so shuffling wagons about with a little five finger shunting will be the the order of the day, if the DSJ sees much action at all! 

Dig that funky coupler:

The glazing looks better though. The DSG/DSJ have always had tinted windows, so my efforts here look decent from a distance. Cutting and sticking in pre-painted glazing is one of those jobs that looked like it would be quick and easy, yet it easily took an hour out of my limited mild-cursing budget. By the way, 'In the Loop' is back on Netflix.

You can still see through them but only just.