Showing posts with label ships. Show all posts

Wednesday, February 08, 2023

Correction Time

 I see from the comments on the last post that It's been assumed that the ship was 1:200 (like it says on the cover). I'll point out that while I'm a bit nuts, I'm not completly insane.

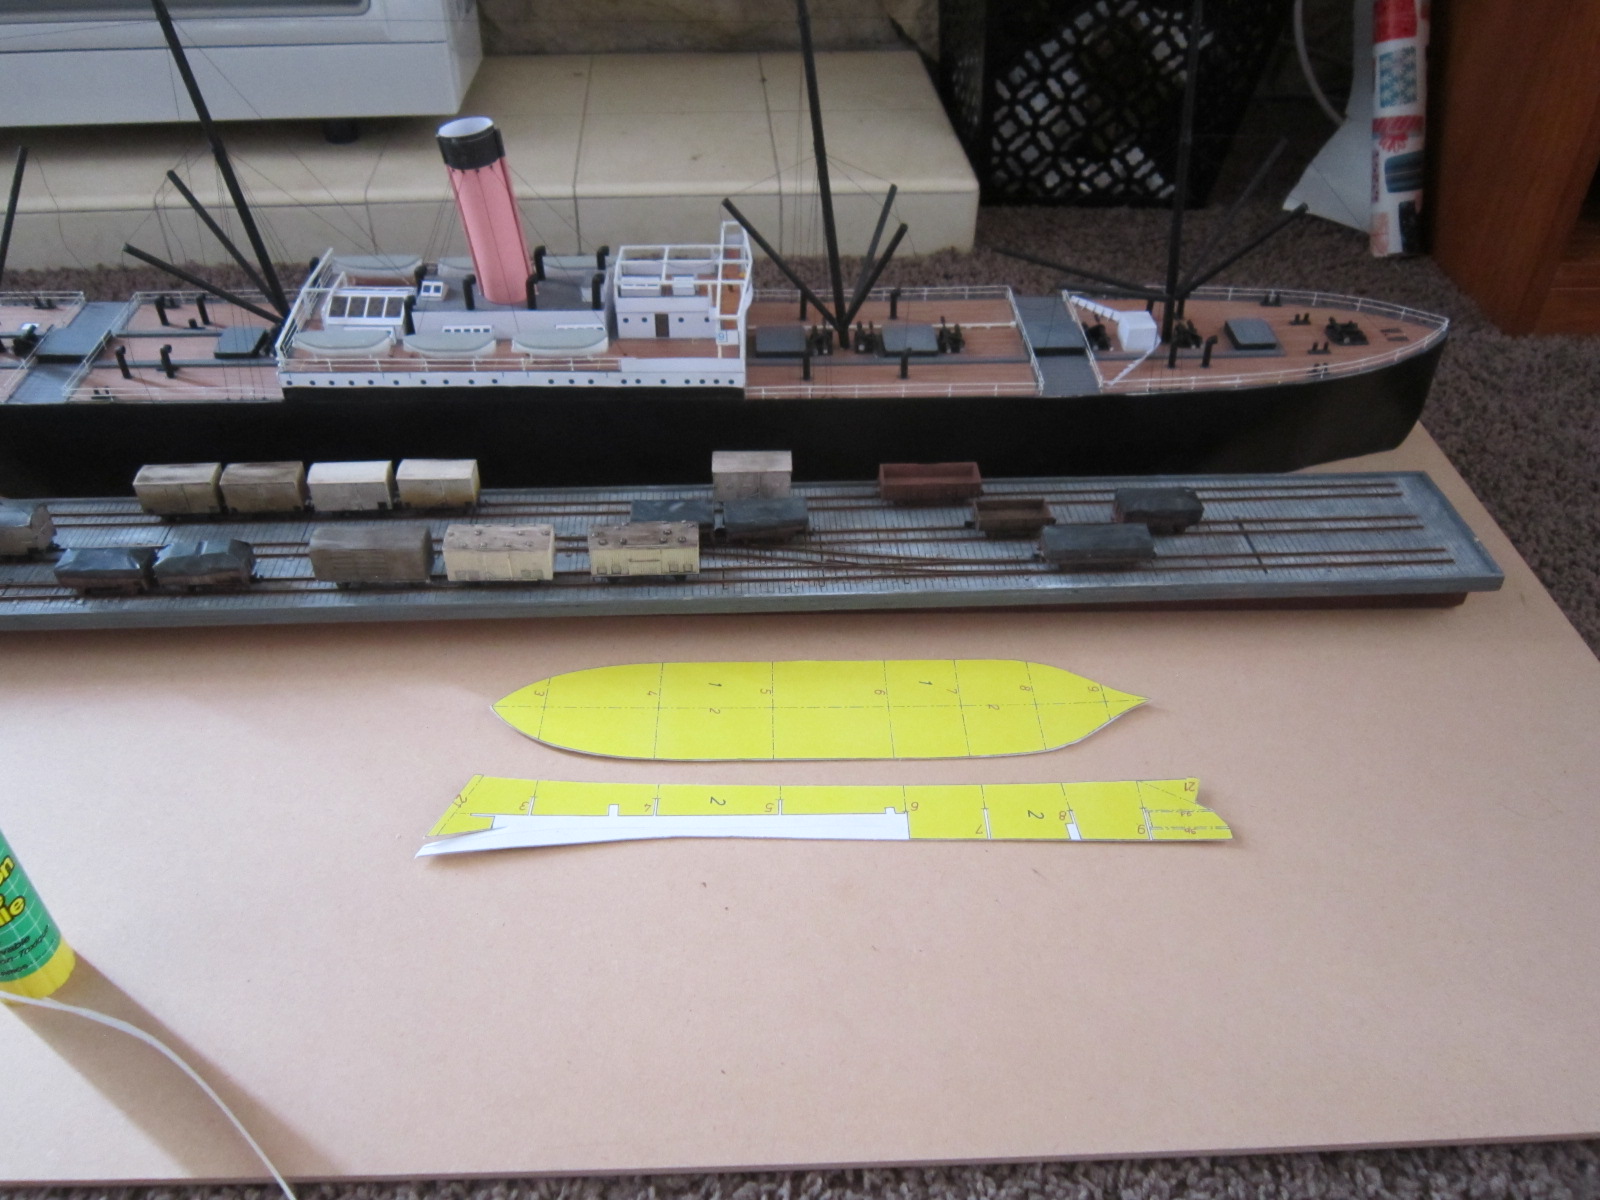
Its been scaned at A4 and then printed at A3 (so again 1:140 ish). The bits are then  glued to card of varying thicknesses and assembled. The bits are all numbered and you start at 1 and go from there. All rather sensible. A couple of hours over the last 2 days have got me to the basic frames and decks.

 
It scales out to ~140' long (the steamer is nearly 400') which I think is a good typical size for a wooden Bark of the late 19th century. I might make 2 or 3 and possibly build another wharf for an earlier period.

Monday, February 06, 2023

Strung Up

 A fun couple of nights (apparently a couple is 3 or more according to google) has seen almost all the rigging done. This has sucked quite a bit as I have large sausage fingers that while being somewhat heat resistant, are not designed for tying knots in thread in confined spaces. 


I used up my remaining stock of Peco track pins to the point of resorting to using bent pins for the last couple of stays.

With puting the rigging on it's become clear that the module won't be able to be operated from behind the ship. Its not that I don't trust the crew not to try to reach through the model to poke a retralcicant loco or fix a derailment but.... Maybe if I replace it all with razor wire as a warning to the uncoordinated. And at least it simplifies the point operating mechanism.

So  having not really enjoyed this part of the build, I'm now contemplating something even worse.

The Bark Theone (which I think is now out of production as it's not in the catalog any more).


At least its not as big as the previous model and I don't have to do the sails if its docked.

Tuesday, January 31, 2023

One more step

 Over the last week or so its been lifeboat time (making, not using).

In keeping with the rest of the build, they were whittled out of balsa with some card details. I didn't take any pictures during the building so you will all have to make do with some pre and post instalation shots.


I've had a bit of a hunt for some brass (or indeed any) wire of the right diameter for the derricks, but it looks like I'll need to have another trip to the local model shop for more supplies.

Thursday, January 26, 2023

Almost there?

 When we last looked at the ship, I was stuck on how to make the cowled vents. Eventually I came across a simple way to make these on a ship modeling forum. 


The top piece of plastic tube sits on a slightly narrower piece of plastic tube. The back end of the top pipe is 1/2 filled with Tamiya plastic putty and when dry the cowl is shapped with a file. Its not overly spectacular but it works for me.


The center superstructure required larger diameter vents.

 
The list to "finish" the model is now down to; lifeboats and cranes, stairs /ladders and rigging.

Wednesday, August 01, 2018

Boat progress

After a couple of nights work, the deck windlass's (all 8 of them, each with 17 pieces) and anchor windlass are done. Once I sorted out how to do them it was just a question of cutting the bits out and threading them all together. They were then painted, lightly weathered and glued in place.


With these added to the front deck the only job left is the ladders from the bridge to the deck.


At the other end the rear superstructure needs the railings done and ladders down to the deck.
I also need to do the lifeboats and the ventilators, which I really have no clue about.

Sunday, July 22, 2018

The bridge

From the "here's one I prepared earlier" files.

I had previously prepared the bridge roof frame. As its quite a complex beast (which is a vast understatement) I first created a jig to place the square brass before I burnt my fingers during the soldering process.

So with the frame all together and without the smell of burnt flesh in my nostrils, the hard work wasn't done yet. You see with the slight angle and several levels it was a challenge to cut the pillars to the right length. Somehow I managed to fluke it with only 2 flying off to the far reaches of the modeling room. I then managed to get most of them vertical.


Thursday, July 12, 2018

Timewasting

I'm always amazed how many time I'll buy something to do a job faster than my current tools, then find its not doing what i want and go back to plan A. I had a mile or 2 of railings to paint and rather than doing them by hand I thought "I can buy a tin of spray paint for that" (Tamiya of course, not the spraycoat). After taking everything off the model, carefully labeled so that I knew where it would go back, I got stuck in. In no time I had a looming disaster on my hands with the paint forming a string of pearls along the wire. After a quick wipe down I left everything for a day, and then painted them all by hand, as I was going to do in the first place.

Glued back on its really made the model pop (and yes, the center railings still have to be trimmed to length).


Despite all this, I'm still trying to avoid 'going down the rabbit hole' detail wise.

Sunday, July 08, 2018

On with the show

Hmm, theres a model show at the end of the month, the 17th or 18th ring a bell.
Hmm, the 17th and 18th are not on a weekend...
Oh, its this weekend....

And thats how I spent my weekend. On the Demo table with the usual group of reprobates.
For a bit of variation I decided to do some work on my card ship. I had all the railings to do so knuckles down and just stuck with it. After a day and a half I had all the railings done. the locating was very easy as all I had to do was poke holes with a sharp needle into the card deck at the right spot. The photo doesn't really show this and I should have taken it before I packed the rolling stock up.


I had a selection of other unassembled card boats on display. This was a point of interest with other modelers and many were surprised that the tramp steamer was card. At least one modeler asked for the details and reveled that he had been looking at buying a $350 kit for an ho scale boat but would look at this instead.
Despite this I'm trying not to be a boat modeler (I can't stand rum much).

Other big news from the weekend ( at least for me, but I don't do social media) is that North yard has acquired/rescued the Southdock range. This is great news for the NZ hobby as the unavailability of kits has hamstrung the hobby for the last 5 years. I was told that the oportunity had been taken to update the resins used in the casting.

I'll post some more photos in the next couple of days, plus other things I worked on.

Monday, June 11, 2018

Down the rabbit hole

I've been doing some bits and pieces on my tramp steamer. The masts are painted and I've made a start on the deck detail.


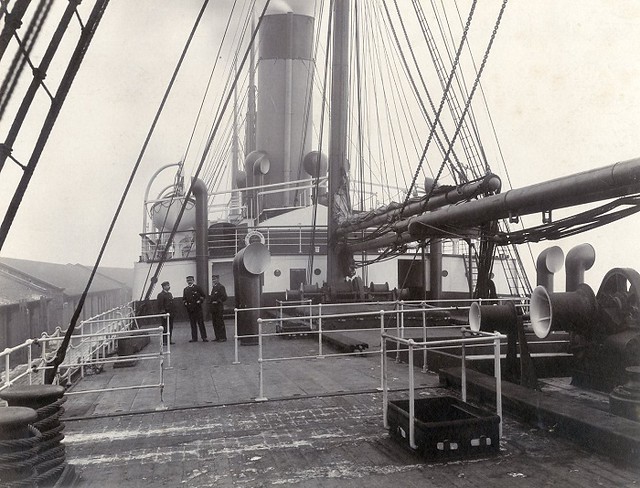
So its all coming along nicely and apart from the railings everything else seems to be straight froward, just adding some cast details and doing the rest of the bits in wood etc rather than folded paper. So today I'm ding a web search just to see if I can find anything else on the ship, and I come across a Flickr folder with a collection of deck photos


And suddenly a simple job comfortably ensconced in ignorance get the searchlight of enlightenment focused on it. Theres plenty more railings  and a lot more detail full stop.pluses are bridge detail and also the capstans which will be easier to make. minuses are the whinches which are far more detailed.
So how far does one go with this information?I could go nuts but at the end of the day its only really a backdrop, and those were once simple paint jobs.

Sunday, July 02, 2017

Sunday evening.

After a bit off woodwork I've made a start on the shipboard derricks. These are just a 6mm main mast, with 4mm booms pinned to the mast with short bits of bras rod.

Its looking a bit more boaty.
Now to answer the question in the last posts comments.
I'm not planning to have is visible from the backside as I have a plan to put the point throws in the guts of the ship and run the wire through to under the wharf.

Now, if I could just find a local supplier of 3-4 bags of Pecos track pins (they are useful for so many more things than pinning track).

Saturday, July 01, 2017

Saturday morning.

The ships slow assembly process continues, but I've now got one of the sides on. Rather than use the bits in the kit, I opted for a single large sheet, which seems to have worked OK.

Its starting to look quite impressive. I would have hated to have done it in S scale....


And a view from a bit lower down.....

Tuesday, June 06, 2017

Wrists of steel


The first job with the kit was to glue it to some 1/16 card stock, as it was printed on the cheapest paper I could get. I took the opportunity to cut some of the pieces out and make more optimal use of the space on the card sheet. Again my other boat for scale.


 Then comes the physically hard bit. All the pieces have to be cut out accurately which was a couple of hours work made hard work by the thickness of the card. I also had to take into account that while I didn't want a full display model, I didn't want a ship at full load either. After a bit of thinking about how much I could cut out of the lower frames of the ship, I came up with a height which would allow part of the propeller out of the water.

I then put it together to check that everything fit OK.


The bends will vanish as more parts are glued together. In think picture I've added a 30cm ruler to give a better idea of just how big this model will be.