

DB was pondering with Mr Bätchelé de yong the other day:
We came to the conclusion that the main obstacle of modelling progress is inertia: the tendency of objects at rest to stay at rest. The (positive) converse being that objects in motion tend to stay in motion.
I have a fear of soldering, and a fear of spray painting, among many other fears, so my Z class wagons have been stalled for more time than they have been moving forward. Yet after almost a week of over-thinking and worrying, I managed to prime the metal bodies with a can of Tamiya Surface Primer. Something I've never used before.
And by golly it's good. As this stuff contains chemicals known to cause cancer in the State of California (which is probably not what they mean, and besides, they even put this warning on cornflakes over there), I took it out into the garden and applied four or five very light coats instead of the usual one big lumpy one, which is always my default mode when spraying (cover, damn you, cover!).
With the light sprays, the wagon bodies slowly turned grey and more importantly, all the detail was still visible and with no paint runs. Go me!

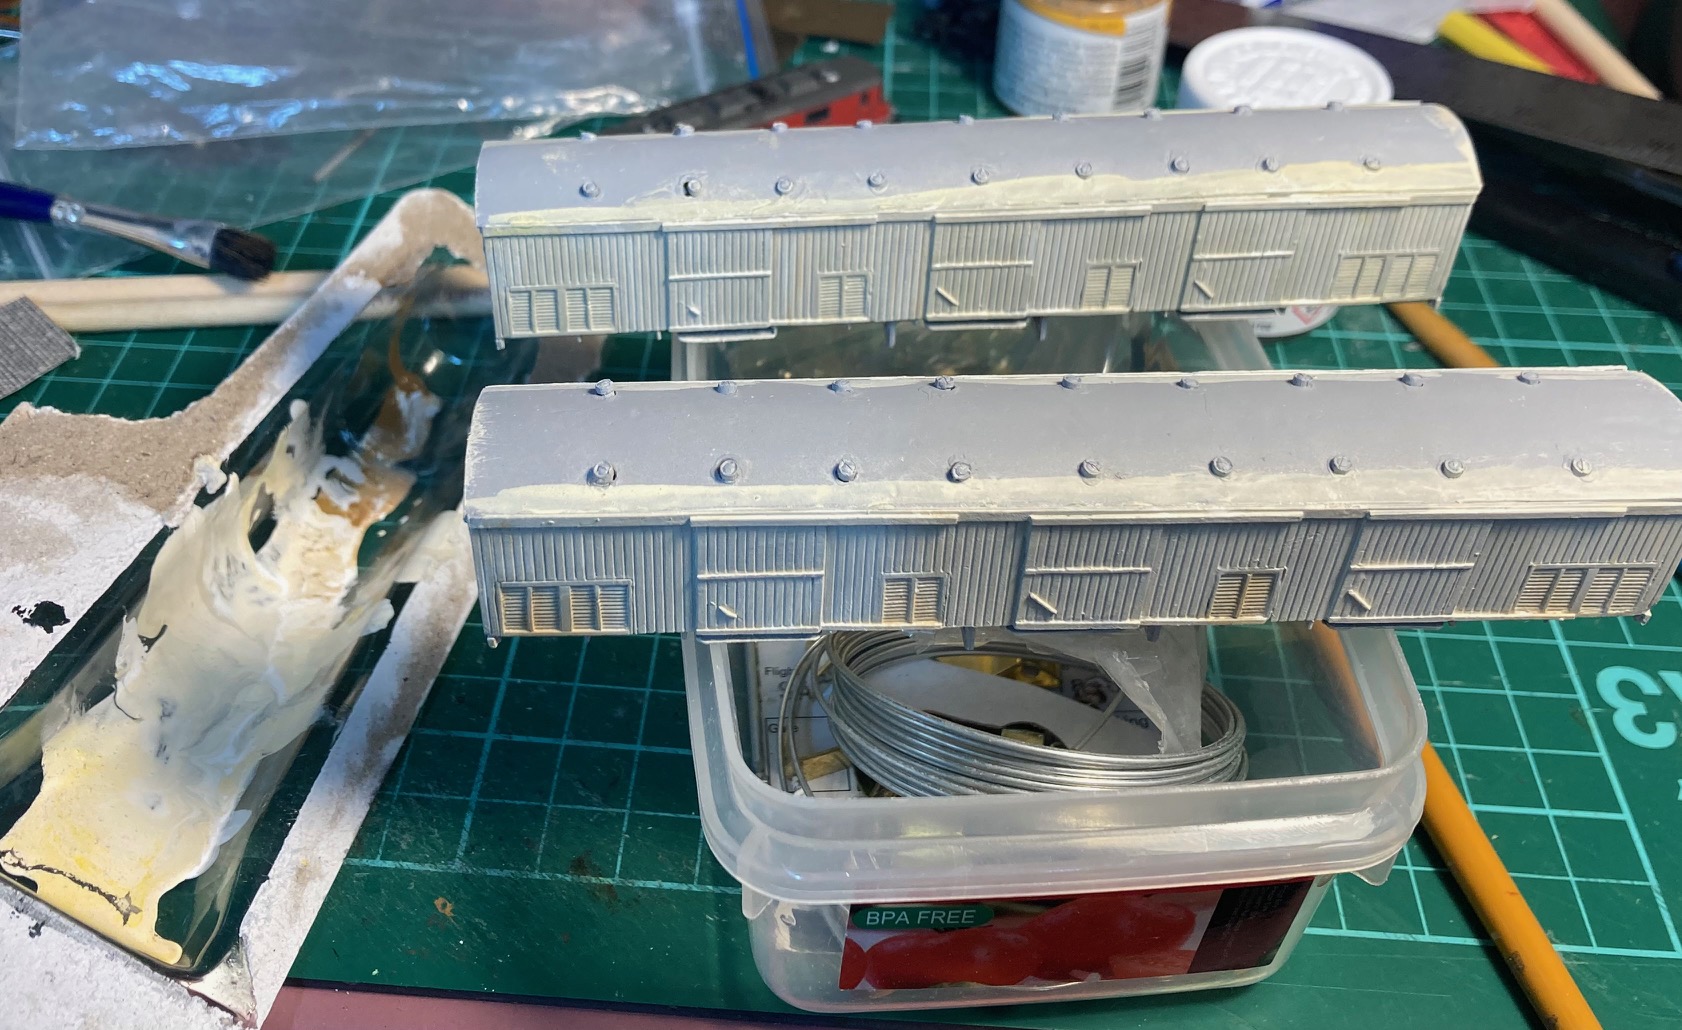
The stalks here were bits of dowel from the dollar shop used for Z scale bridge pylons the day before and the leftovers and offcuts were stuffed into a box. My, I think I'll save this Mighty Wagon Holding Apparatus for future sprayings.
Despite the natural desire for my moving objects to stay in motion, I allowed the primer a day to set and then put some white on the sides. This was a mix of some sort of Tamiya pure white acrylic, tinged with some grey/brown and some yellow/brown. This all came out a bit grey and dark for me so I applied (a lot) more white to the mix and overpainted. This was all done in vertical streaks to imbue a mild form of 'weathering' into the base, as the Zs that I saw were never ever white.
As an aside, I graduated from Humbrol enamels to Tamiya (and other) acrylics about 15 years ago. I liked how they set so quickly and could be thinned and cleaned up with relatively non-smelly water, isopropyl alcohol or thinner. They also seem to last longer without drying up in the tin.
The one downside being that they have a very short working time, so if you're taking your time, they can start to blob up and peel off. A few years ago I discovered 'Tamiya Paint Retarder' and this is magic stuff, with a drop added to your mix giving you far more time to work. Yet it still sets quickly so you can still move onwards, ever in motion. My mixing trays are usually clear plastic covers from glue and the like (to the left here, with various shades of white to pick from)

1 comment:
What a wonderful low-cost spray booth. A question: How is the Tamiya retarder used when the paint is inside a shake can?
Post a Comment