

DB completes the 3D printing review with what was to be the opener in the post...
I've had quite a few purchases from the Lewis Holden Printing Factory on my workbench for a while. Some for well over than a year now. So lets look at a few frustrations from 3D printing (this has since been started in previous posts on passenger cars).
Some of these models are LC tops. These are the same as ones I've bought and posted about previously, but putting them up against the latest additions to the four-wheeled coal train, the Trackgang whitemetal LCs (the brown completed one below) shows a contrast when it comes to the details like the placement and 'finery' of the ribs and internal tie-down 'bumps', and also the overall straightness and squareness that 3D Printing was supposed to help us with, although I suppose in this case, bent bodies were pretty realistic for coal route LCs!


Modelling that lower look with these printed models (or making any alterations at all) is more of a pain than with scratchbuilt stuff, because the resin is so tough and brittle, so to 'raise the floor' you really have to get in there with a dremel, which is challenging to get into tight corners, and messy.

And ideally, for looks, you want to thin the inner side walls a little when viewed from the top. Further surgery had to be performed on the Pecos (see in the pic below) to make up for not being able to get a dremel deep into the corners of the underside....


But getting to this point is too much work for a 3D print. I could have scratchbuilt this from styrene in half the time I spent dremelling. Why not just modify the design to save everyone the hassle?
And that is exactly what Lewis has done with his latest creation, after some back and forth with Dandruff HQ.

This is his build in the pic above, looking pretty sweet. This is a great example of "if you're going to go to the effort of designing it, why not make it as good as you can?"
So, a number were acquired, but they have been sitting on my bench for a while as they required some pondering time. The outsides look superb:

That's some mighty tasty and fine detail. Note the handgrab and footstep on the end (the little knobs on top are from supports used in the 3d printing and curing process and are easily removed with a file.
The floor is supplied as a separate piece:

The challenge is fitting it... The tops have a little protrusion that is probably supposed to locate the floor, but mine were only on three of the inner sides. It was a very tight and tricky fit for the floor. Plus they are inclined to be a little warpy by their flat nature, so after many attempts I decided there was no way I was going to get flat or consistently located floors without assistance.
After fiddling with various sizes of plasticard rod, I reckon 0.060 inches-worth of Evergreen styrene is the right depth of stopper to have the floor sit at the height I want. So strips of .040x.060 were cut and levelled with the bottom of the side walls thus:
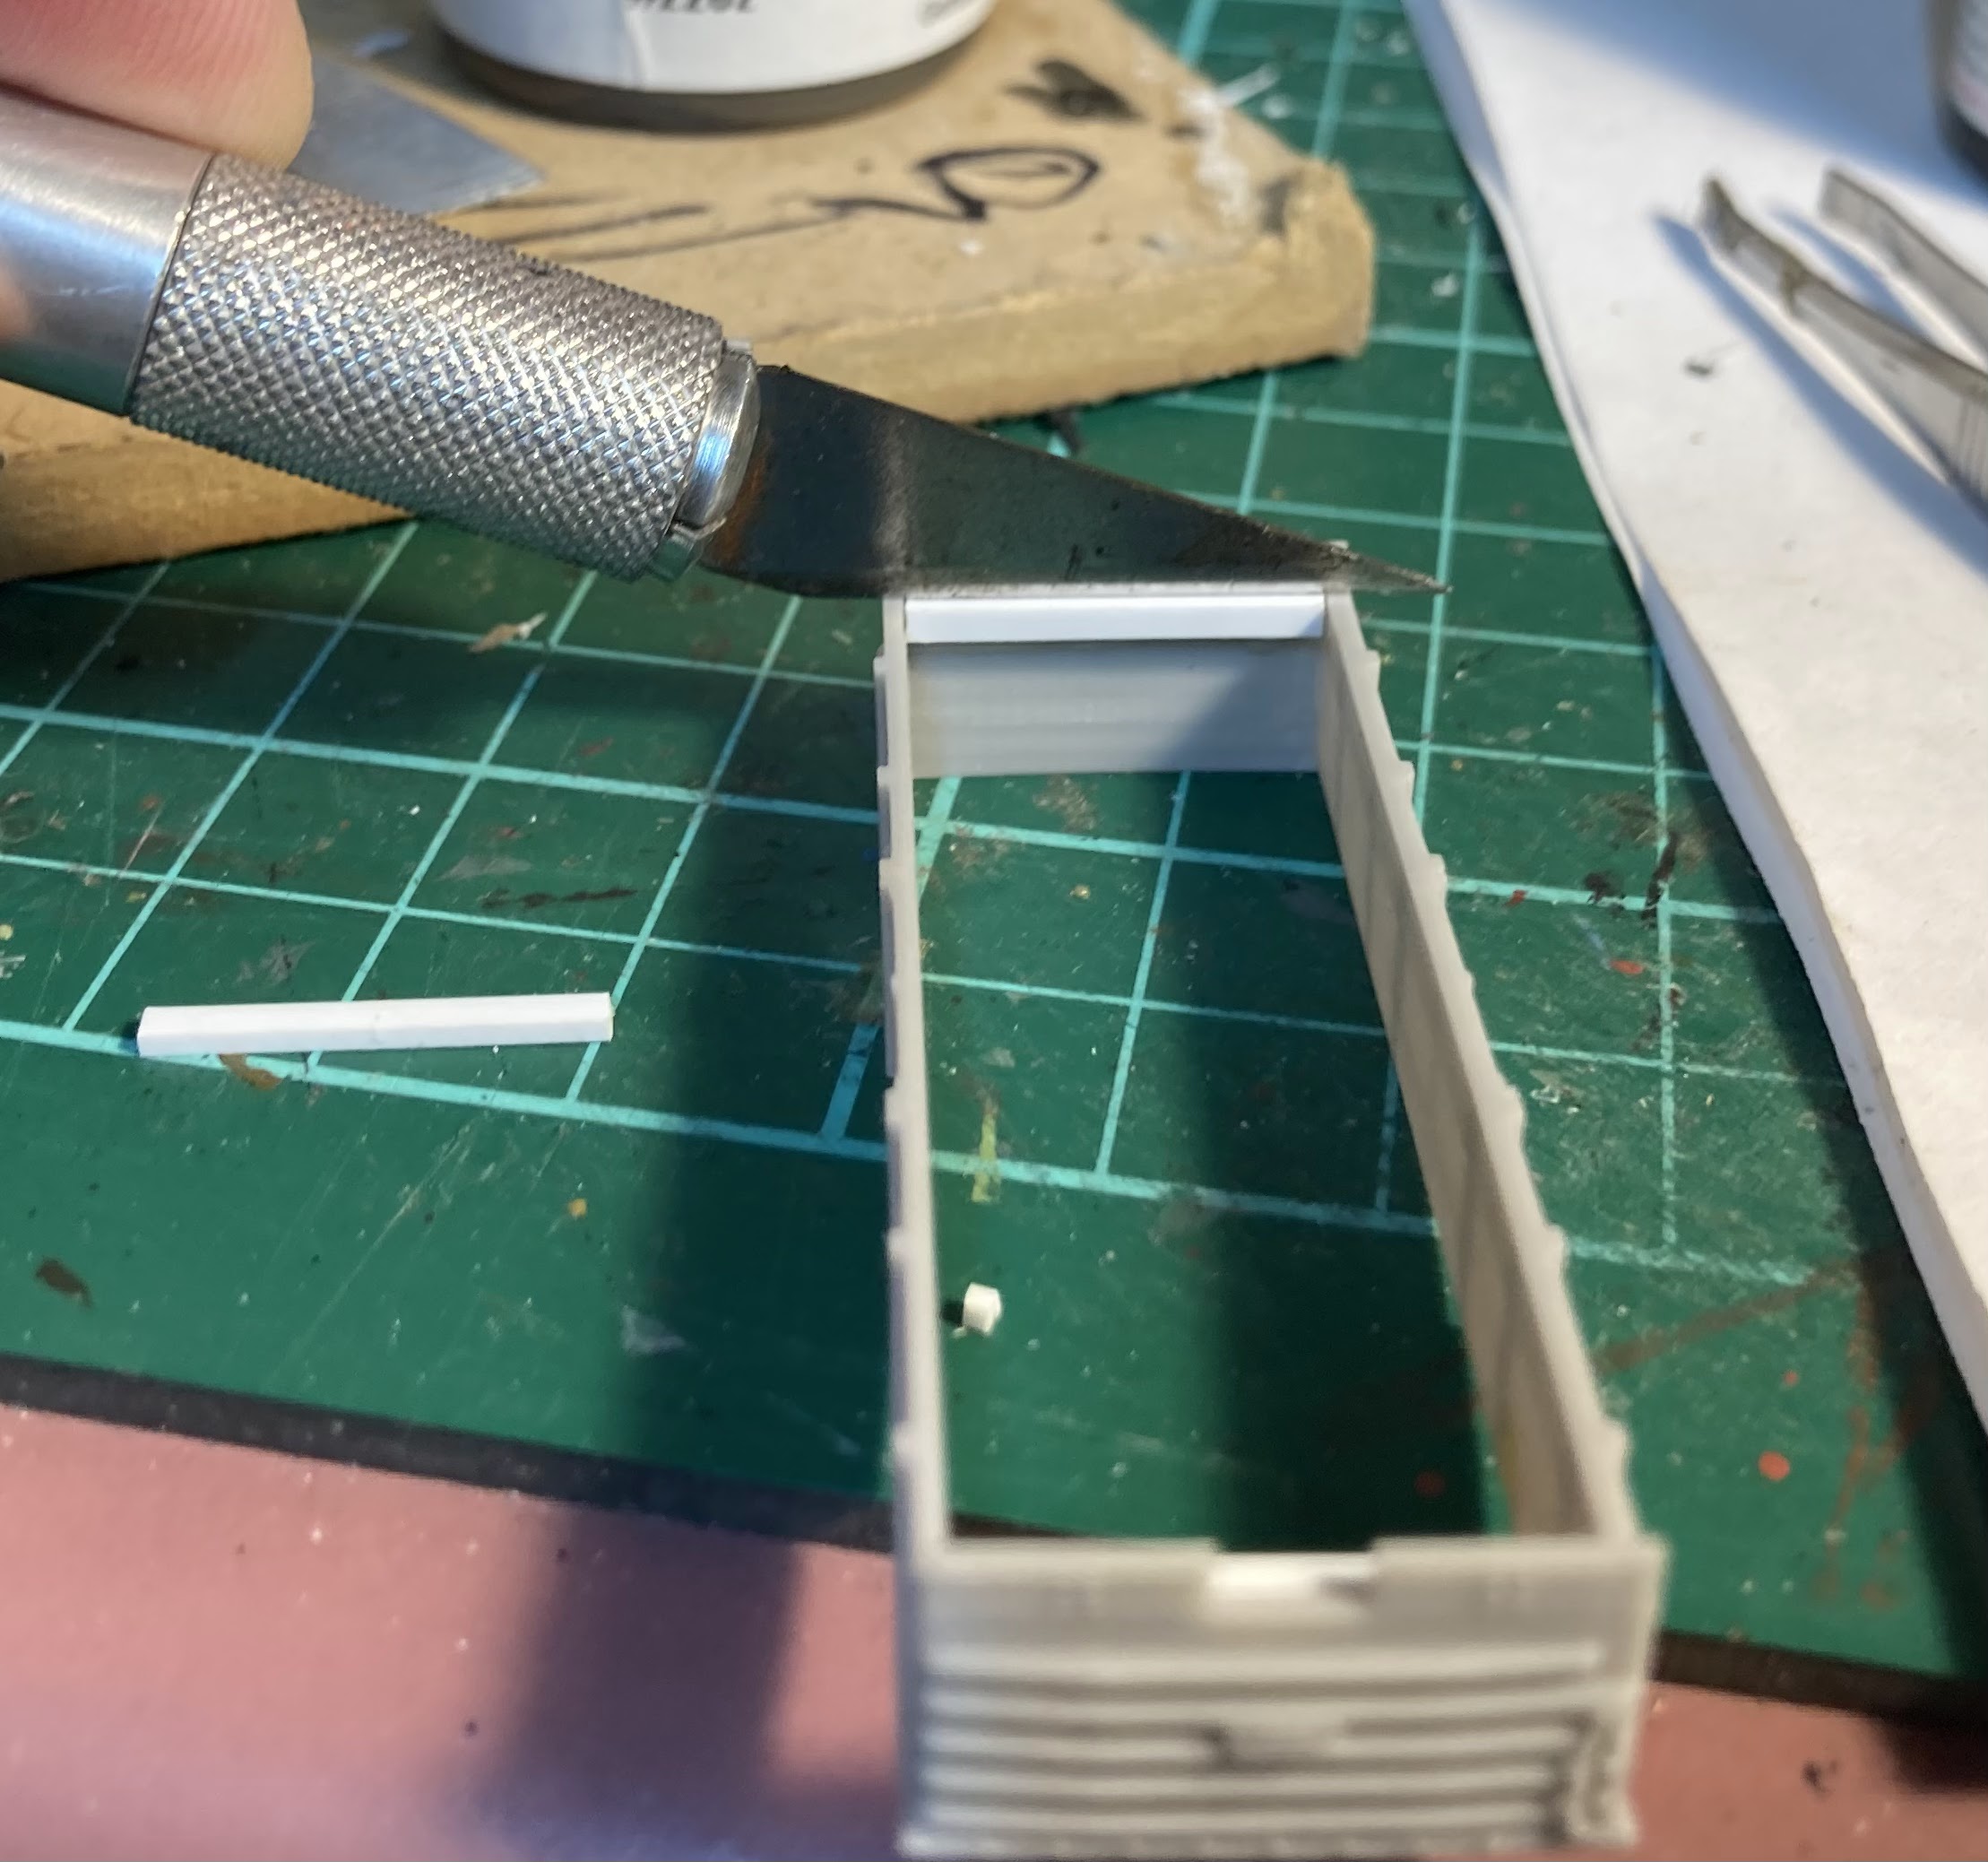
I quickly found it easiest to do it the way pictured below, holding the wagon down and simultaneously pressing the strip against a knife blade (or a ruler or something) held in the other hand for a few seconds while the superglue took:

Then it was time to create some NZ120 marching powder by thinning one side and one end of the floor:

So the floor drops in nicely against the stoppers. If it warps up in the middle that's no drama, because the chassis will be secured at the corners anyway:

From here it was paint time: various shades of reddy brown on top:

And some drybrushed brown on the bottoms as the wagon assembly plant rolled into action:

Ta-da:

About 15 years ago, I had three holy grails for NZ120.
- A module standard.
- A realistic one-piece modern freight bogie.
- And a relatively cheap LC and KP top that you could just pop onto a Peco - meaning anyone could churn out trains quickly without needing any special tools or skills.
It looks we are getting very close to being 2/3rds of the way there.
2 comments:
The Trackgang Lb/Lc white metal kit was mastered originally by Pat Eade, under the Trackside banner. I did think that alot of his detail was coarse and not entirely accurate, but then for a non NZR modeller (Pat) in this smallish scale.....
Hmmm I feel like further adjustments may be required...
Post a Comment