Sunday, February 28, 2016

First steps.

Right, the days are getting shorter and its time to start on those winter modeling projects.
So, today I had a first look at the Shapeways Df top, and did some preliminary work.

The first thing to understand is that these prints should be treated as a Scratch aid, so there are no instructions and the modeler is left to fend for him/her self in the construction process.
So I'm going to blog my build to show how I approach things and possibly why I do things the way I do (or not, who knows).

The main bogie side frames were cut away from the top with a piecing saw. Similarly the front and rear bogies were also cut off. The braces between the sides were also cut/snapped away.
Dropping the top onto the mech revealed that the top sat too low. I then noticed that Peter had quite thoughtfully provided some steps on the inside of the roof. I cut out a piece of 1.5mm thick card 17mm by 85 mm which fitted nicely.


Placing the top on the mech gives an overall height of ~30mm, which is about right height wise.


Next up are the bogies. Again, Peter has thoughtfully included some locating dimples for the axle pinpoints, which take a 15mm axle. This appears to be standard on British wheels (Peco, Parkside Dundas or Farish), so its up to you for your choice. I've gone with (I think) Parkside Dundas solid disk 6.2mm wheels cos I like metal tires. Comparing the old with the new.....


The older bogies pop out of the locating beams, and the new ones will drop in once finished.
With the new bogies temporarily in place here's how things stand.


It has also answered one of my worries that the underframe was not going to look 'full enough' for want of better phrasing. The replacement bogies carry the underframe all the way to the ends, though I'll make some adjustments to the placement to balance things up.

Sunday, December 13, 2015

On the Buses

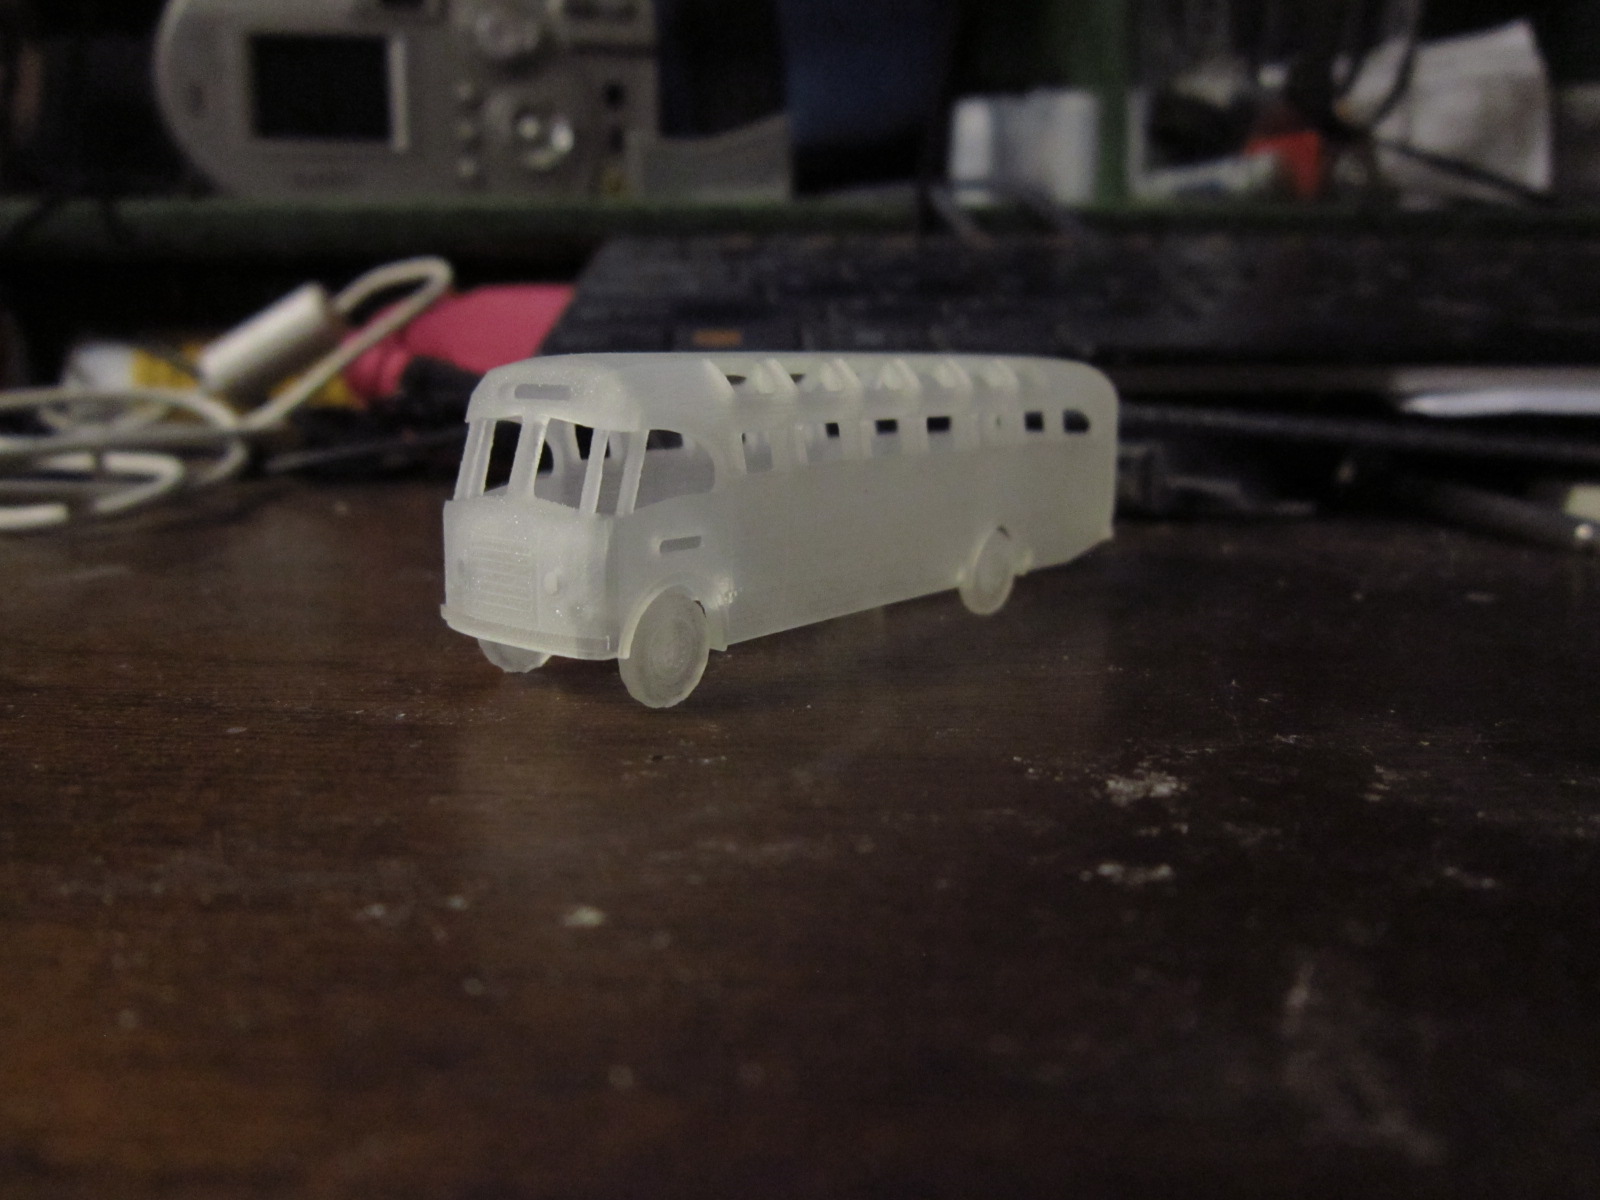
The rest of my Shapeways order was made up with an old NZR road services bus.

Apart from being a bit on the thick side, its a good model. I think that the glazing should be put in but quite thin so that the people who want to be able to see into their bus can remover it, and the rest of us can just paint it. My pan for this model is to trundle round a road somewhere on a MMW module.
 So, will it fit on the Tomytec bus chassis?

"Just about'
The rear end is OK (width wise as well) though the wheels are a wee bit small. the steering bit at the front is a problem, but a look and a think reveals that I should be able to modify it by separating it from the rest and doing some surgery.

Thursday, December 03, 2015

Hot off the printer

Something I have been meaning to do for a long time is to do some reviews of some of the many models available in NZ120 from Shapeways. The main impediment to this has been having to purchase the models first. Its a chicken and egg problem, as I'm not sure about purchasing a models because I don't think that there are enough good pictures of them around to make an informed choice. I'm not sure why no one else has reviewed (or even seriously photographed) their purchases? surely its a service to your fellow modelers.
Anyhoo, I digress.
A wee while back I noticed that Shapeways had free shipping. I found a bullet to bite and made a couple of purchases.
When the box arrived, I was reminded that the prices are in US dollars. Ouch.
So, first up, The English electric Df.


A rough check reveals that the length and width are OK. All the vents on the side are in the right places. The porthole windows look too small, but are in the correct positions and are the correct size relative to the large grills on the side. The bogie sides supplied look OK. The 3 axle ones are designed to fit over the chassis ones with a bit of filing.


 The cab doors are recessed, with no printed handrails (yay). However there are no holes for wires ones to fit. The doors on the sides are also recessed, when they really should just have an outline
OK, time for the close ups.


The leading bogie has pinpoints inset for wheels to be added. From what I can tell they are 14mm (without wanting to bend and break them). I'm assuming that one can use the wheels from the chassis. The horns are in the correct orientation for the large headlight, which the published plan has not got right (always refer to photos)
Finally the nose. The Df/Dg nose has beaten virtually every kitmaker in this country. My verdict is that its not quite there, but with a bit of filing it will do


So, my initial opinion is that its quite good, based on my leap to nit picking almost straight away.. I've seen extreme versions of this sort of review overseas, and if you are starting to split hairs then its time to get a new hobby.Now all I have to do is work out how to get rid of the benzaldehye smelling wax without breaking anything.

(Right then, I've started. the rest of you should start sharing closeups of yor 3D printed models so we can actually have some information before plonking down our cash)

Saturday, November 14, 2015

Saturday Morning

(I'm trying to get back into this blogging business.)

A sunny day here at La Casa Dandruff, and I've already turned the compost (and that's not a euphemism for anything). I've had an email from Shapeways to say that my order has been printed and shipped, so in a couple of weeks I'll start learning about how to use acrylic body shells, and if its worth it.

Following on from the West coast binge that is occurring here at the moment, I've been pondering about how to turn the area into a layout. While there are some bits (the branch lines) that would be relatively easy to model, fitting the bits into a larger system is a bit problematic. Its had me pondering (again) the merits of creating imaginary routes and stations on the west coast. Its one of those things where its something I would like to do, but my inner historian keeps yelling at me (historians love an argument, and unlike inner finescalers they can hold their drink). I know its reasonably common in the states (simply because its so large), but in little old NZ where if it was sensible (or not) someone built a railway, so all the easy bits are taken. There's possibilities (a second route across the southern alps) but once you have a route it doesn't seem to make sense to duplicate something.

Wednesday, November 11, 2015

Yet More Coal

Chatter from the peanut galley over the last couple of weeks has been discussing ore modeling locations on the west coast, and the attractions of old steam locos and long rakes of coal wagons.
A list of station track plans was drawn up, and the only major one missing from the list was Greymouth.

Greymouth was actually 2 different yards, so lets have a look at plans from 1912


 The main station also contained the car yard (and the loco depot at this time, Elmer lane not being built until the 20's). This was the departure point for passenger trains south to Ross, North to Westport and east to Otira and beyond. The other Station, Riverside was used for the local trains to the Greymouth coalfields and up the grey valley.


The wharf yard was deeper than the corresponding area at Westport. The track work was far more complex as well. Looking at it from an operations point of view, the set up is to run short rakes of hopper wagons onto the quayside to be unloaded by the mobile cranes. The corresponding trackage at Westport was far simpler.

Amazingly (and/or sadly) the only thing left of the 2 yards today are a single line to Hokitika through the main station, and the goods shed and cranes on the Quay.

Sunday, November 08, 2015

Q-ing Up

The Ghost of DB returns.

I'm alive! And back in Godzone for a while. Which always make me want to play trains.

Mr 0-4-4-0 is making some nice Q wagons and modules at the moment, so why not join in, as who doesn't love the West Coast in late-steam days? And besides, I remember seeing Q hoppers on a DJ hauled train leaving Greymouth in 1981so I can use them behind those locos as well.

So... I found four 10 foot Peco chassis with spoked wheels and threw them along with my modeling knife and a random selection of styrene bits into suitcase for the trip to the Capital.

Colonel Druff lent me a variety of Q plans this afternoon, and the first that caught my eye was one of the steel hoppered ones with the straight sides. Measuring up the wheelbase and converting to NZ120, the Peco is exactly right, so make one of those first I will. If you're not familiar with it, the NZ Railways Rolling Stock Lists site is a goldmine for numbers, dates, trivia and pictures for almost everything that ran on the rails in NZ.

My first task was to remove the extraneous detail from the Peco chassis - the protrusions above the flat top surface, the handbrake and brake-shoe details. I've also slimmed down the couplers as I intend to use them (shock horror) instead of splashing out on anything more realistic, or expensive. All was done here with a sharp blade in my 35 year old modeling knife which I haven't used in about two years but seems to be still up to doing the job. This little shard of firewood and a paper bag to catch the offcuts might not make EB's "Great Workbenches of the World" series, but it's doing the job.


Once this was done, I laid a flat piece of thin plasticard on top. In hindsight I should have cut a rectangular hole in it to make the top half of the hopper look like it's sitting in a real hole, but what can you do now. Other notable details on these series of early Qs are the coil spring pockets above each axlebox -yes I know these Pecos are leaf sprung, but I figured removing those might be a bit messy. I made these pockets with their distinctive circular holes by twirling a hole in plasticard with the knife point and then cutting squares out around these and gluing them in place.


A pair of headstocks and a fake handbrake lever and we're almost done. I don't have any handrail wire with me but that will come, and I'll need to add some weight to these as well.


More in the next episode... in about two years, if history is anything to go by....

Saturday, November 07, 2015

Saturday Morning

The suns up, the birds are singing (the cat got 2 yesterday so I can't imagine what they would be happy about), and the lawns call out to be mowed.
So the best spot is hiding in front of the computer.

I've started making some movements towards getting my NZ120 modeling back on track. Last night Shapeways and Kiwimodels (in that order) made some more money off me in the form of an EE Df top and an NZR bus. It will be interesting to see how the Tomix bus chassis can be shoehorned into the top. I suspect it will take some serious surgery along the lines of just what does the damn thing need to actually work. The Df should be a bit easier depending on whats been done to allow it to fit on a KATO mech. At some point I'll also have to take stock of the stock, just to see what runs and what doesn't, and what bits I have lying round.

Also I finished up some work yesterday on a few other models that had wandered across my workbench (for one of Am Fets mates). NZ12 I believe.