DB bumbles onwards:
I've been chipping away at the roundhouse for a few days here and there. When I started, it felt like this would take months, but progress has been fairly rapid.
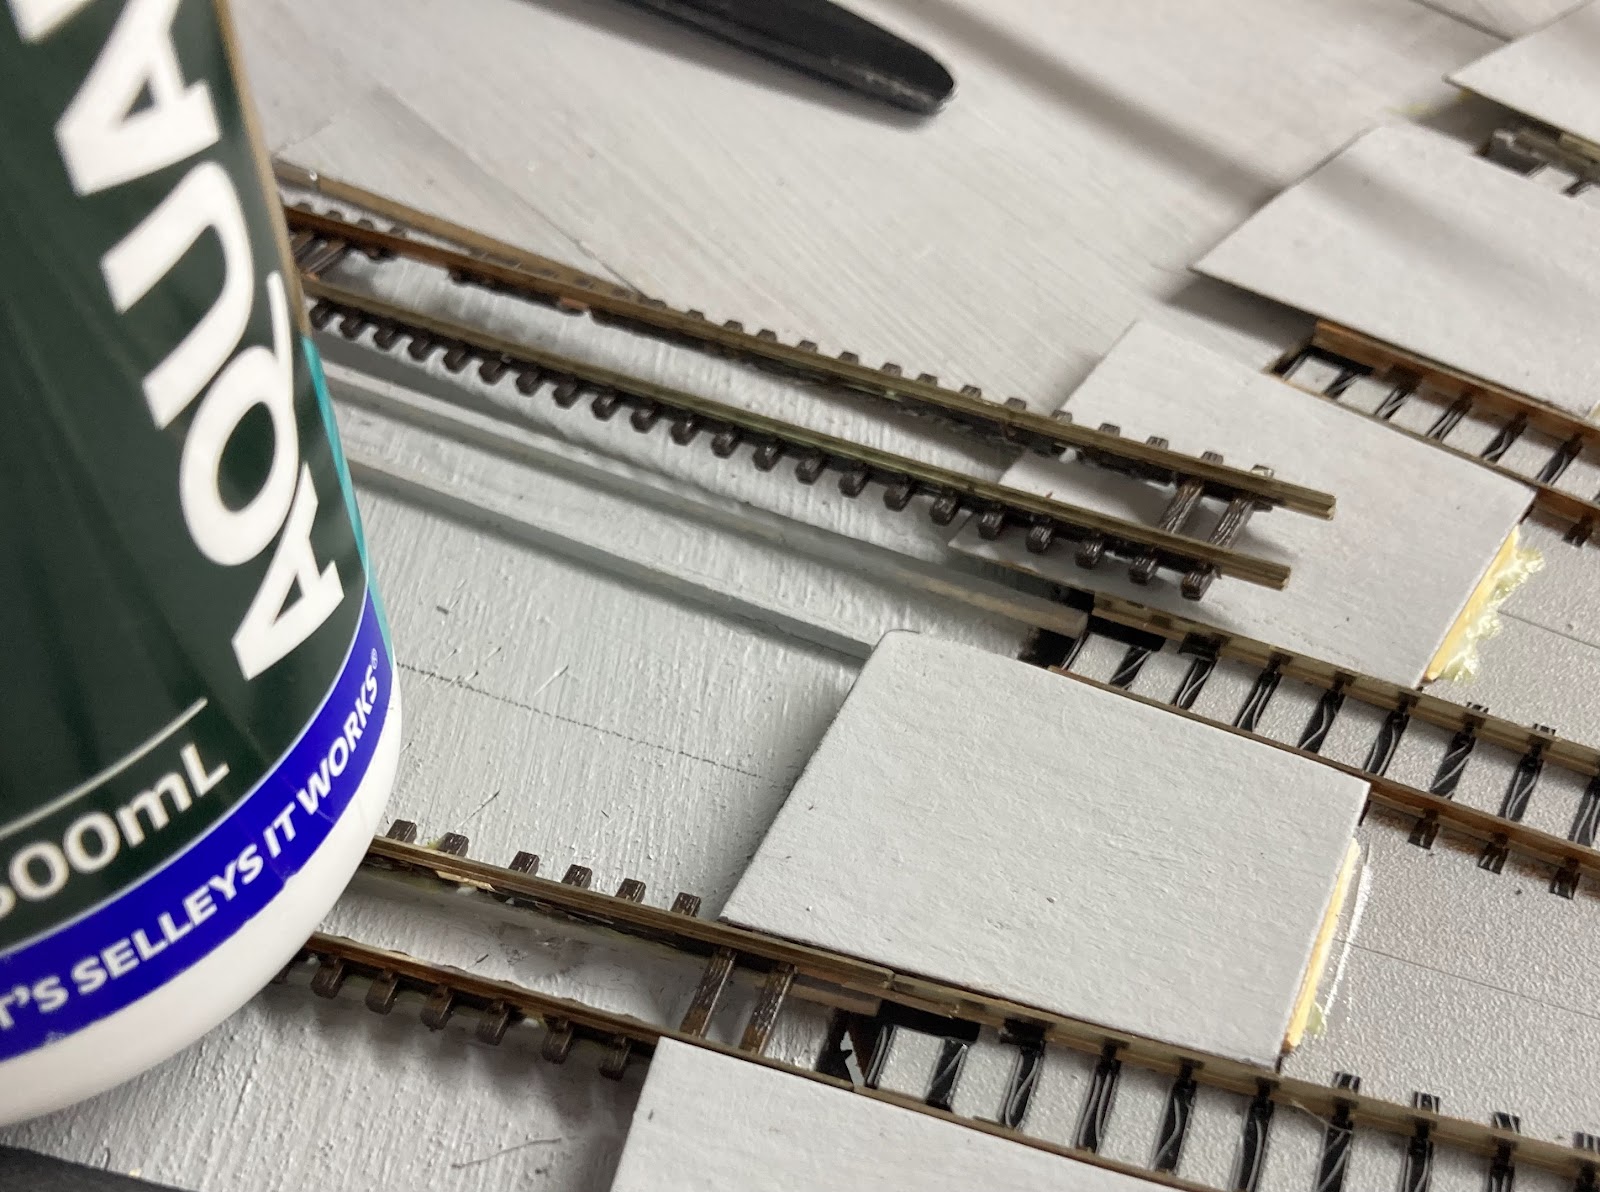
A quick aside, and a little out of order, but I wanted to paint the track, as I reckon this looks good. I've done this with Rustoloeum spray cans in the past, which is OK if you keep away from points, and hand painted my Z scale double tracker, but that's slow work.
A Woodland Scenics 'Tidy Track' painting marker was procured last time I was in Christchurch as a novelty. Pretty pricey at about $23, but I thought it might be useful for some of the tricky bits. As track painting was nearing the top of my list of things to do, and there is a lot of tricky fan trackage, it was opened up for a try.
Its a paint pen with a fibre tip that is spring loaded. You shake it up (with a little ball inside) press down on the tip a few times and it should paint.
I thought mine was broken, because after shaking it for forever, and pressing on the tip again and again about 100 times, eventually a little brown discolouration appeared at the top of the tip. This eventually seeped its way down to the point and away I went.
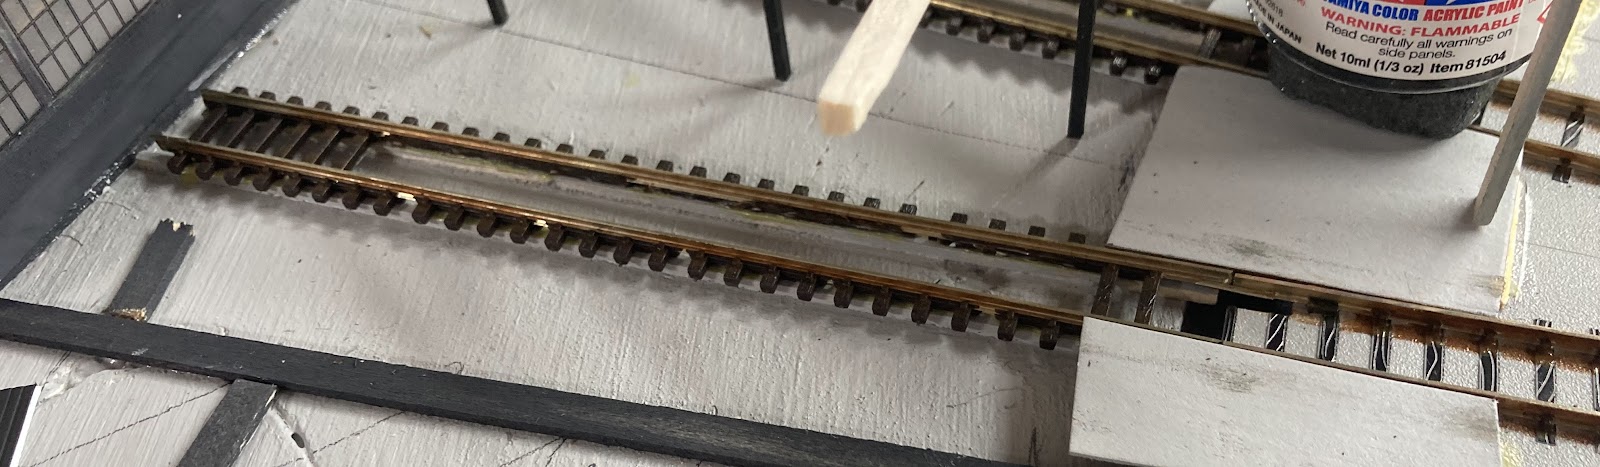
Initial thoughts: mmmm, not great, the hard fibre pen tip bounces off all the moulded track spikes, so there's not great coverage on the rail. But soon enough the tip starts to fluff up a bit and it starts covering nicely. It started humming away along the Peco 55. The Kato unitrack turntable pieces seemed to have sharper or more pronounced spikes, which tore up the tip more. As I went along, I wiped the tops of the rails with stripwood, to clear off the brown paint on the rail heads.
Eventually the tip got so fluffy as to be useless, but fortunately there is a spare in the package.
I figured the pen might do some of the fan tracks and be an expensive and pointless experiment, but it covered all the track on the module, including the yet to be installed Hokitika balloon and straights, and most of the track was done on both sides... and I haven't run out yet. Its not the most precise weapon that exists, so I'll hand paint the turntable bridge rails, but its pretty quick once you get into the swing of things and a good colour.
Final verdict: I'd do it again.
As for the roundhouse, there are a millions ways to pat this proverbial cat, but I decided have the whole thing lift-offable so it can get carried in a box and not get smashed in transit.
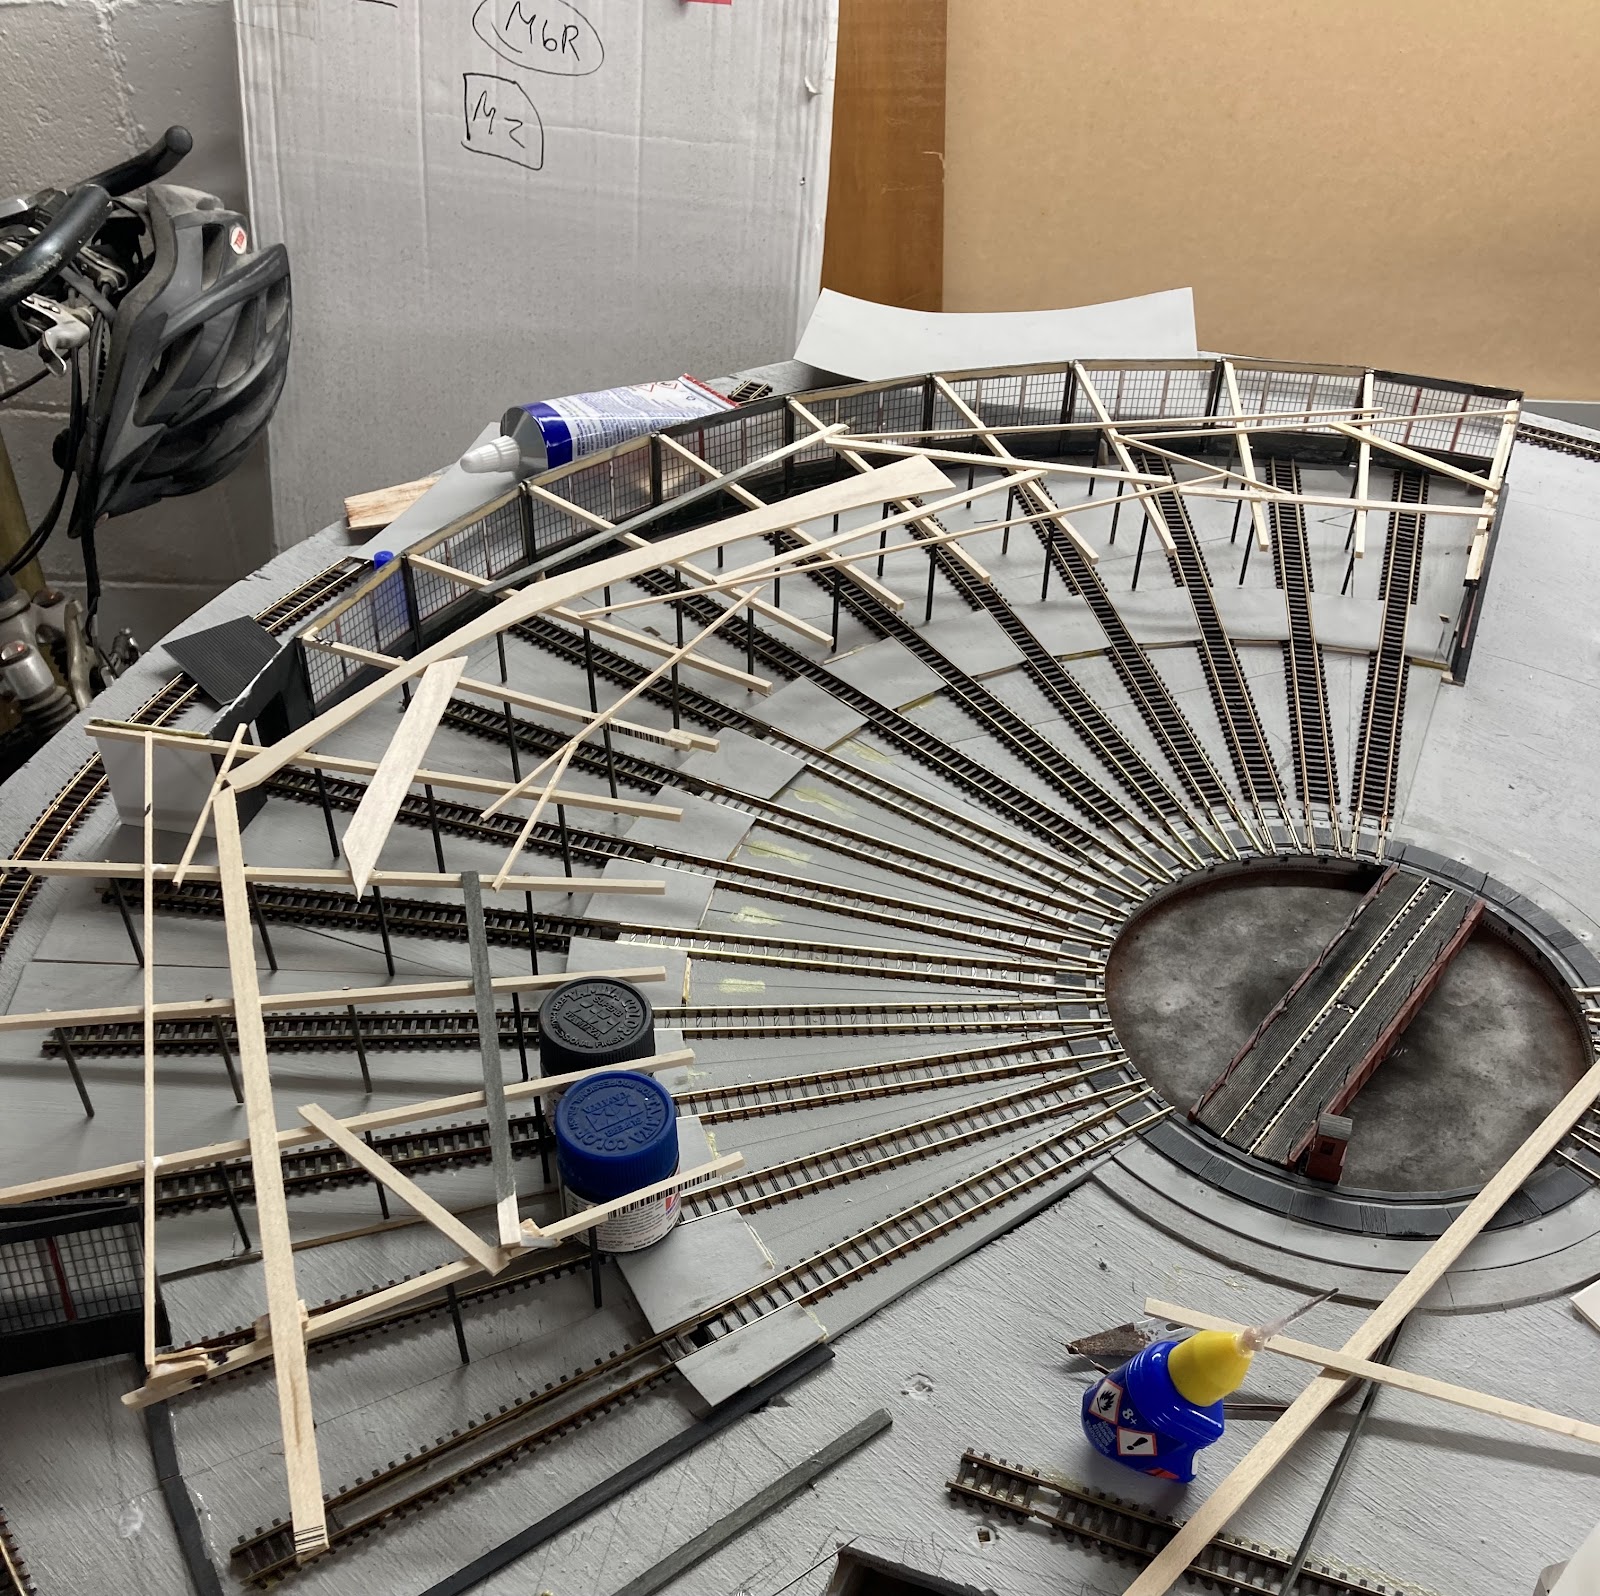
The first step was to build the internal wooden pillars, as I figure you'll see them through the open doors. A jig was made, since I have to do everything 15-30 times! This is below in foreground of the pic here, made from some offcuts... and the output (an unpainted roof beam with three dark grey legs) between the DI and the roundhouse.
The roundhouse walls were stuck together in about the right places and then the leg sets were supported in a more or less vertical orientation and glued to the rear wall....
Random stripwood bits were then haphazardly glued across the tops of the unpainted beams to tie things together. Surprisingly this is solid and the whole roundhouse is pretty light so far.
About this time I was also adding 3mm sheet basswood under everything to bring the legs and track up to a consistent height, but the less said about that the better. It was painted the same concrete/Harvard grey as the module top.
Then some thin card 'concrete' was poured in a ring around the roundhouse fan tracks. Supported by stripwood.
On the two most 'visible' roads to the 'left' by the crew buildings, I decided to put in some 'pits' by cutting out the sleepers.
Gluing the track onto some little 2x2mm strip
And painting the inside black.
We shall see if this is a good or stupid idea, but it didn't take long.
The roundhouse progresses:
A little like the real 18 stall thing curtailed, this has are 15 to make it about the same shape as the original. Two normal bays to the left, then three longer workshop roads (the building should be twice as deep but here, but I have only room for 5-10cm), then one track that continued outside through the back wall of the roundhouse (the three workshop tracks and this through one survived as a 4-stall roundhouse through the 80s) and then I have 9 more normal bays to make 15 (the real one had an additional 3 normal bays to the right, but their bays were all more closely grouped - I'm stuck with the Kato turntable angles/spacings). All my 'regular' bays (11 in total) have nice back windows, the workshop bays have plain walls.
Front face vertical pieces have now been installed (Mitre 10 stripwood prepainted light grey):
These vertical pieces have now been joined with the start of the front face woodwork above the doors (the same ribbed plastic, prepainted light grey and weathered slightly since I don't have a local hobbyshop selling Evergreen styrene/balsa etc, and I'm too impatient to wait until next week):
And again the whole roundhouse is light as a feather, but its quite strong and and can be lifted off if work needs to be done - the track painted or cleaned, or the workshop floor weathered, as will come. There are several locating 'bumps' glued to the module that but against the roundhouse walls to ensure it is positively located in the same spot every time it goes flying and then returns. There is also a dark grey 'foundation' glued to the module that the roundhouse sits on. This will let me ballast up to that tidily without getting glue on the roundhouse itself.